The first flooring project I planned taught me one important lesson—I guessed the amount of flooring, and I guessed wrong.
That’s why a Flooring Calculator became the first tool I check before shopping. It helps estimate how much flooring you may need based on room measurements, so planning feels much less stressful.
Whether you’re comparing flooring square footage, ordering laminate flooring, or budgeting for vinyl plank flooring, accurate measurements can help reduce unnecessary waste and avoid running short during installation.
I’ve found that spending five minutes measuring the room carefully can save far more time, money, and frustration later.
- 1. Measure the Room Before the Flooring Calculator Does the Math
- 2. Let a Waste Calculator Match the Flooring Pattern
- Let a Waste Calculator Match the Flooring Pattern
- 4019 Material Estimator Calculator | Finds Project Building Material Cos…
- Laser Measure,RockSeed Digital Laser Distance Meter with 2 Bubble Levels…
- 4020 Measure Master Pro Feet-Inch-Fraction and Metric Construction Math …
- Laser Distance Measure 395 Feet with 60 Inch Tripod, Huepar Laser Distan…
- Laser Measure, DTAPE High-Accuracy Laser Measuring Tool, 2" Backlit LCD …
- Let a Waste Calculator Match the Flooring Pattern
- 3. Choose the Layout Before You Count Every Box
- 4. Use an Underlayment Calculator for the Whole Floor
- Use an Underlayment Calculator for the Whole Floor
- QuietWalk LV 360 Sq Ft Flooring Underlayment for Luxury Vinyl, Laminate …
- Underlayment 360 sq ft – for Laminate & Hardwood Floors – Approved for P…
- QuietWalk Underlayment 360 sq ft – 3 mm Thick – for Laminate & Hardwood …
- Underlayment 100 sq ft – Laminate & Hardwood Floors – Pre-Attached Pad A…
- Concrete Moisture Meter CME-822 – Non-Destructive Digital Moisture Meter…
- Use an Underlayment Calculator for the Whole Floor
- 5. Plan Underlayment Seams, Moisture Control, and Roll Placement
- 6. Turn a Trim Planner into a Clean Baseboard Cut List
- 7. Count Doorways and Transitions Before They Become Trouble Spots
- Count Doorways and Transitions Before They Beco…
- Oak Floor Transition Reducer Strip – 3 FT x 2 1/2" Wide Wood Threshold T…
- CroBlissful 2" Solid Red Oak T-molding 3/4" High Unfinished T Molding Fl…
- BARWALT Super Jamb & Undercut Saw, Powerful and Versatile, Adjusts from …
- 2.4"W 0.1"H 36"L Flat Profile Aluminum Door Threshold, Metal Threshold T…
- LEXIVON 2 in 1 Digital Laser Tape Measure | 130ft/40m Laser Distance Met…
- Count Doorways and Transitions Before They Beco…
- 8. Give Odd Shapes, Cabinets, and Stairs Their Own Mini Plan
- 9. Build a Realistic Flooring Budget from the Calculator Results
- 10. Finish with a Final Installation-Day Checklist
- Finish with a Final Installation-Day Checklist
- Laminate Flooring Tools, 65-Piece Wood Flooring Installation Kit with Do…
- 65-Piece Laminate Flooring Tools Kit – Heavy Duty Flooring Pull Bar, LVP…
- AV Steel 45-Piece Laminate Flooring Tools, Heavy Pull Bar, Solid Tapping…
- Laminate Flooring Tools – 44 Pcs Floor Installation Kit for Vinyl/Wood P…
- 13" Pro Laminate/Vinyl Floor Cutter with Floor Installation Kit, 15°/30°…
- Key Takeaways
- Finish with a Final Installation-Day Checklist
- Conclusion: One Smart Plan Makes the Whole Floor Feel Easier
- Frequently Asked Questions
1. Measure the Room Before the Flooring Calculator Does the Math
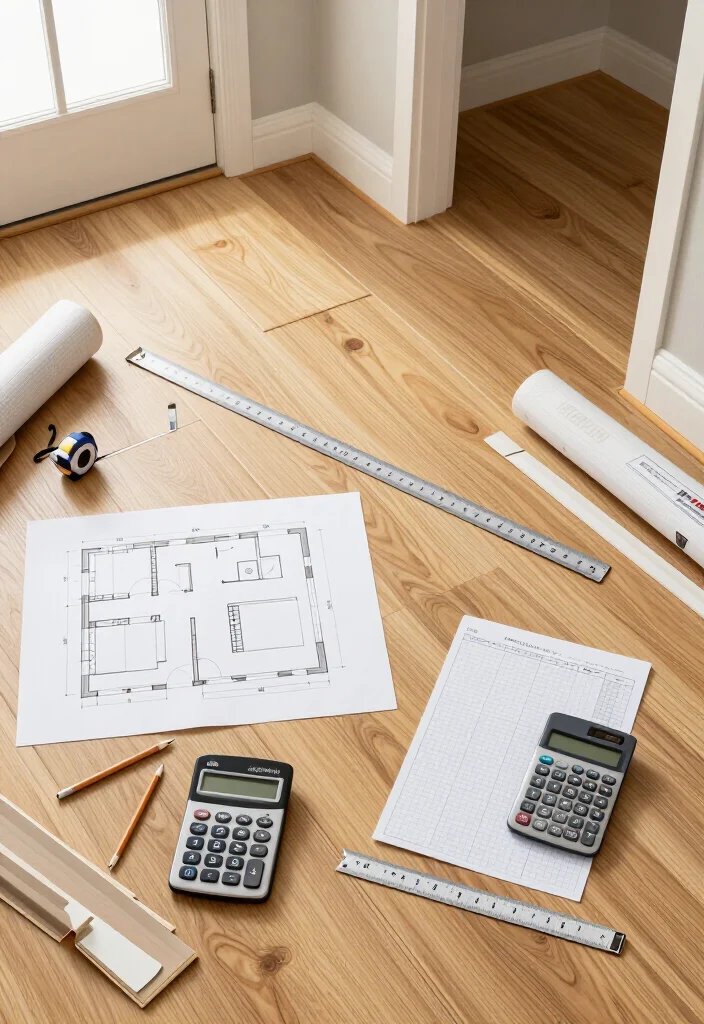
Accurate measurements give your flooring calculator a reliable starting point. Begin with the room’s shape, including corners, alcoves, and connected spaces. A rectangle needs length multiplied by width, while an L-shaped room works best when divided into smaller rectangles and added together.
Measure uneven walls twice because older homes rarely stay perfectly straight. Keep every number in feet or convert inches to decimal feet before entering them. Include closets, hallways, hearths, and open areas, but leave furniture out unless it cannot move.
Use this measuring routine:
– Measure the longest walls and widest sections before entering numbers.
– Sketch alcoves, closets, doorways, and connected spaces separately.
– Record permanent cabinets, hearths, stairs, and flooring exclusions.
– Convert inches to decimal feet and recheck every measurement.
Clear measurements make waste, underlayment, and trim estimates far more dependable. A simple sketch now can prevent costly corrections later.
Measure the Room Before the Flooring Calculator…
Editor’s Choice




2. Let a Waste Calculator Match the Flooring Pattern
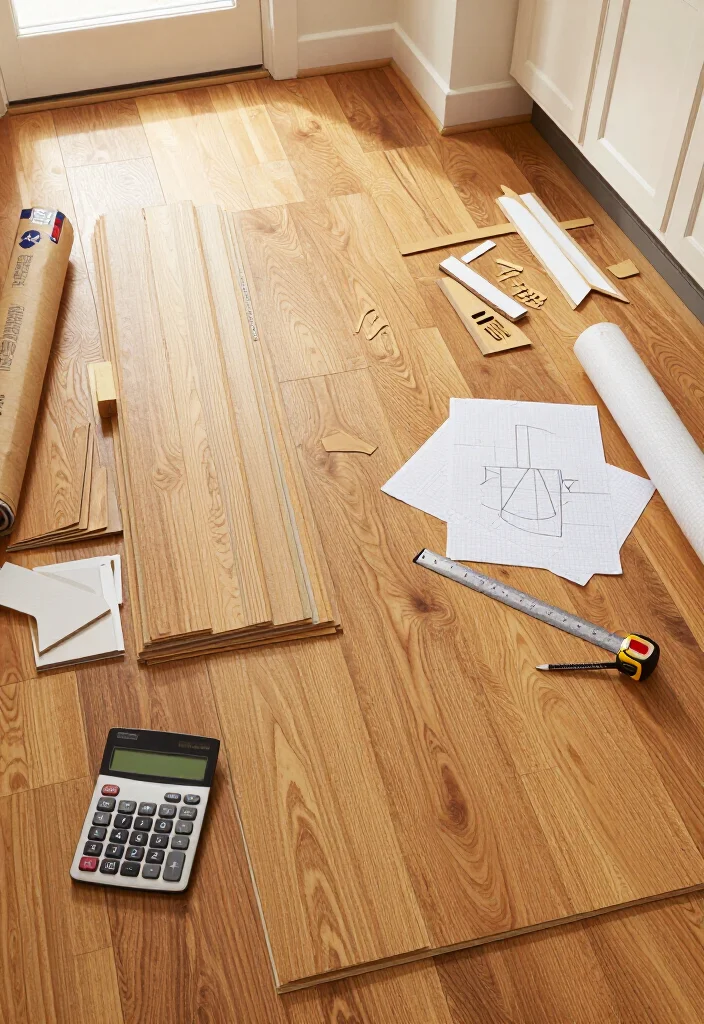
A smart waste allowance protects your project from awkward cuts, damaged pieces, and pattern mistakes. Straight planks in a simple room may need 5 to 8 percent extra, while angled layouts, herringbone, chevron, or many doorways can require 10 to 15 percent.
Choose the percentage after studying both the product and the room. Follow the flooring maker’s recommendation, especially for tile, long hardwood boards, or repeating patterns. Add waste before rounding up to full boxes, and avoid adding the same allowance twice.
Plan your material carefully:
– Choose a higher waste rate for angles, doorways, and detailed patterns.
– Add waste before rounding up to complete flooring boxes.
– Match dye lots, grain patterns, or production batches whenever possible.
– Save usable offcuts and several full pieces for future repairs.
A realistic allowance costs less than a missing box from another color batch. Extra material also gives you freedom to make cleaner cuts.
Let a Waste Calculator Match the Flooring Pattern
Editor’s Choice


3. Choose the Layout Before You Count Every Box
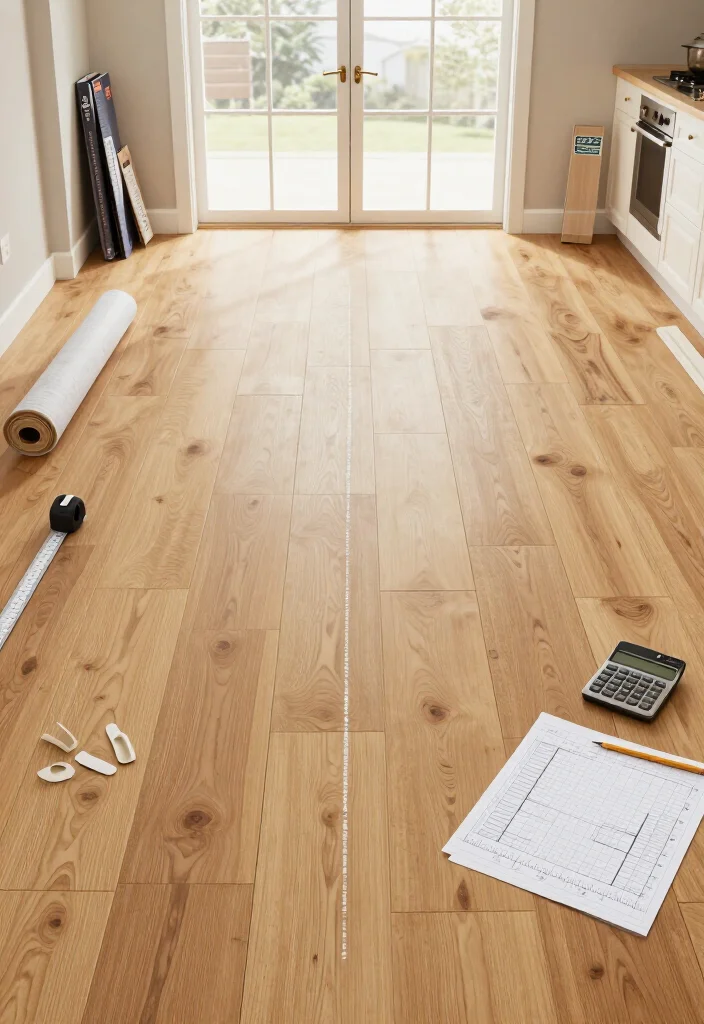
The right floor direction can make a room feel longer, wider, or more connected. Planks often look natural when they follow the longest wall or point toward the main window. Tile usually feels balanced when its grout grid centers across the room.
Choose a starting line from a visible reference point, then check the first and final rows. Shift the layout if either edge would leave a narrow sliver. In open spaces, keep one main direction unless a planned transition separates the rooms.
Check these layout details first:
– Follow daylight or hallway lines to guide plank direction.
– Balance first and last rows around visible room edges.
– Stagger plank joints according to the product’s spacing rules.
– Center tile grout lines across important sightlines.
Planning the pattern before ordering makes waste estimates more accurate. It also creates a calmer visual flow from one space to the next.
4. Use an Underlayment Calculator for the Whole Floor
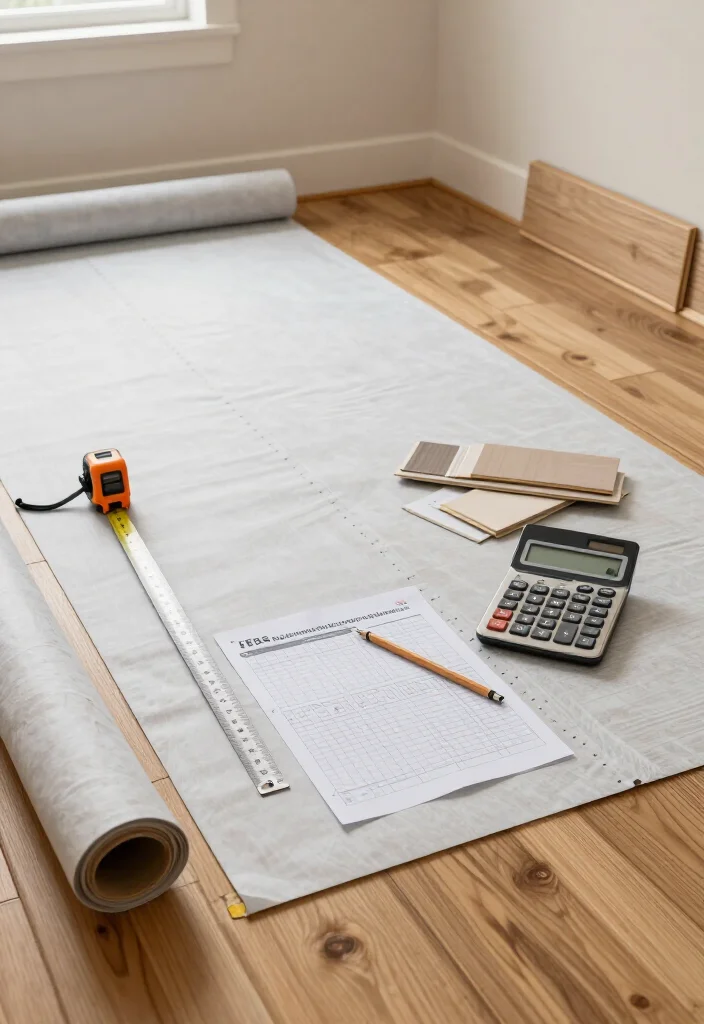
The right underlayment can soften small sounds, protect a floating floor, and improve comfort underfoot. Start with the full installation area, including closets and connecting hallways. Then compare that number with the product’s usable roll or panel coverage.
Check the flooring instructions before buying anything. Concrete may require moisture control, while plywood often needs sound reduction or cushioning. Some luxury vinyl products already include a pad, so adding another soft layer could damage locking edges or affect the warranty.
Confirm these underlayment requirements:
– Match the underlayment to your flooring and subfloor type.
– Include overlaps, trimming, and damaged sections in coverage.
– Test concrete moisture levels when the manufacturer requires it.
– Avoid doubling attached padding beneath vinyl plank flooring.
Underlayment cannot fix major ridges, loose boards, or deep dips. Repair the subfloor first, then use the correct material for a quieter, steadier floor.
Use an Underlayment Calculator for the Whole Floor
Editor’s Choice


5. Plan Underlayment Seams, Moisture Control, and Roll Placement
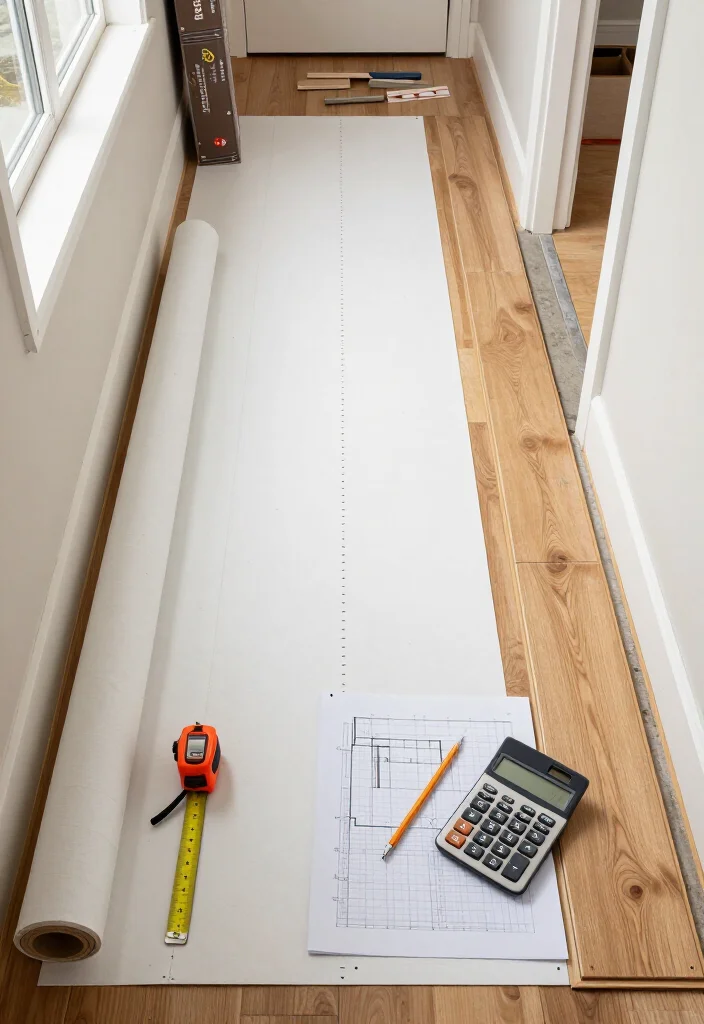
Underlayment performs best when its seams stay flat, clean, and correctly placed. In a hallway, running rolls in the flooring direction may reduce cross seams. In a wide room, side-by-side strips can work well when you follow the required overlap or butt-joint method.
Concrete deserves careful moisture planning because a slab can look dry while releasing vapor. Use the approved tape, remove wrinkles, and keep seams away from high-traffic doorway centers when possible. Never add plastic or extra padding without checking product compatibility.
Plan each roll before installation:
– Choose roll directions that reduce seams and awkward overlaps.
– Calculate usable coverage after trimming and required overlap.
– Tape joints with the product-approved seam tape.
– Protect laid underlayment from dirt, water, and sharp tools.
A simple seam map keeps material from running short in a difficult corner. Smooth preparation also helps planks lock together without raised ridges or movement.
You might also like


6. Turn a Trim Planner into a Clean Baseboard Cut List
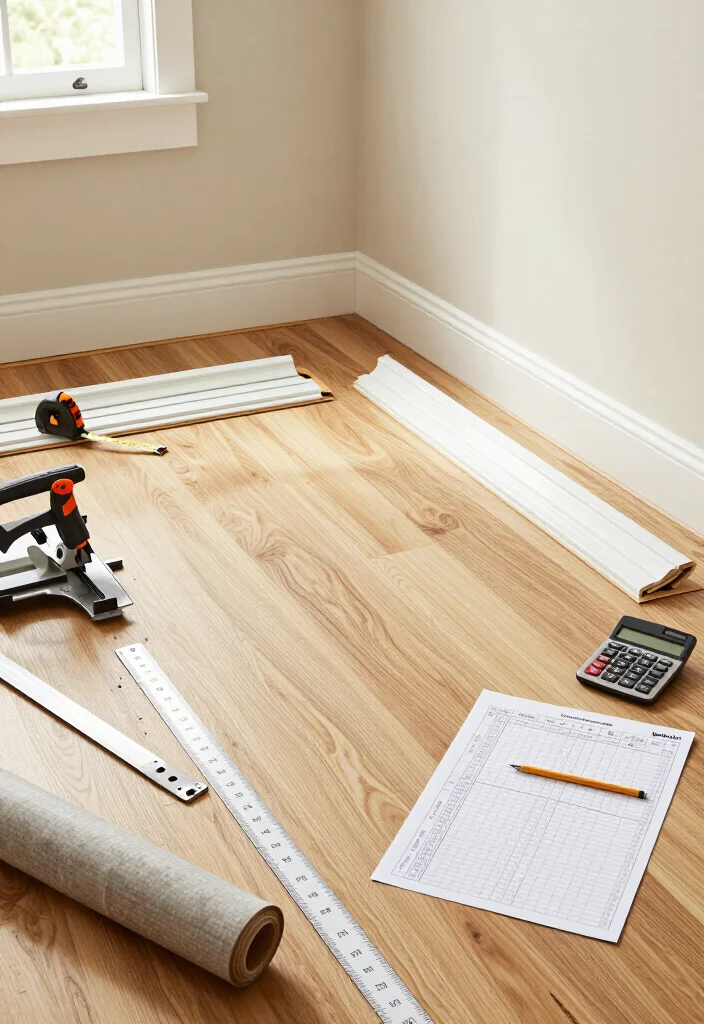
A well-planned trim package gives new flooring a finished, tailored edge. Measure the wall perimeter instead of using floor area, then note doors, closets, fireplaces, cabinets, and short wall sections. Baseboards usually hide expansion gaps, while shoe molding closes smaller spaces around fixed cabinets.
Add about 10 percent for a simple room, and increase that amount when corners are numerous. Plan joints away from feature-wall centers, cope inside corners when suitable, and miter outside corners carefully. Test-fit long pieces before making final cuts.
Track these trim details:
– Measure baseboard by wall length and stock-piece requirements.
– Mark inside corners, outside corners, returns, and short sections.
– Add shoe molding around cabinets that remain in place.
– Include thresholds, stair nosings, reducers, and end caps.
Attach trim to walls or cabinet bases, never through the flooring. This leaves room for natural movement and keeps the finished edge clean.
7. Count Doorways and Transitions Before They Become Trouble Spots
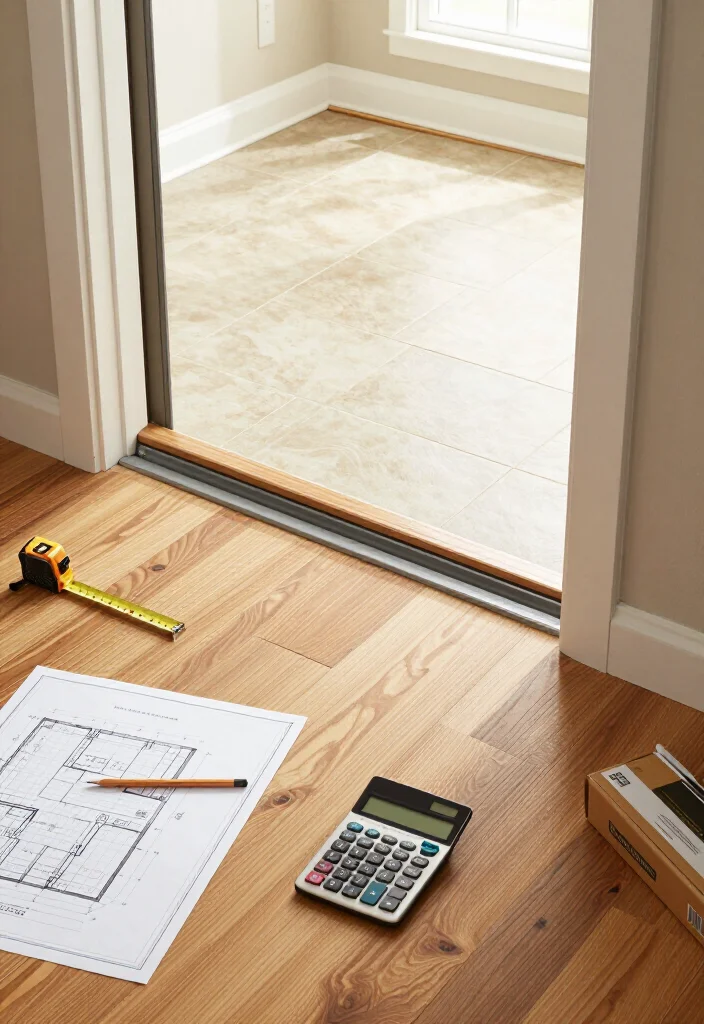
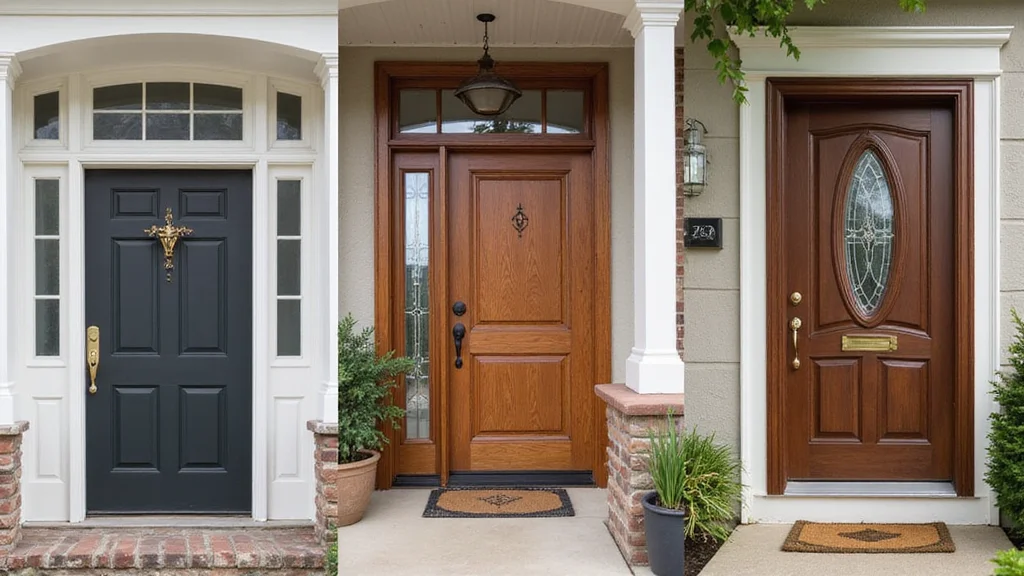
Doorways deserve early planning because they join different heights, directions, and materials. A T-molding suits floors with similar heights, while a reducer connects flooring to a lower surface. End caps and thresholds finish exposed edges near doors or exterior openings.
Measure at floor level and check each door swing before installation. Undercutting jambs often creates a cleaner finish than wrapping small pieces around casing. Decide whether flooring will continue between rooms or stop at a planned transition before setting your waste percentage.
Review every doorway carefully:
– Measure openings, casing widths, and finished floor heights.
– Choose T-molding, reducers, end caps, or thresholds correctly.
– Check door swings, jamb clearance, and undercut depth.
– Cover expansion gaps with properly sized transition pieces.
Matching profiles and finishes make room changes look intentional. Ordering one spare transition can also help when a replacement becomes difficult to find.
Count Doorways and Transitions Before They Beco…
Editor’s Choice


8. Give Odd Shapes, Cabinets, and Stairs Their Own Mini Plan
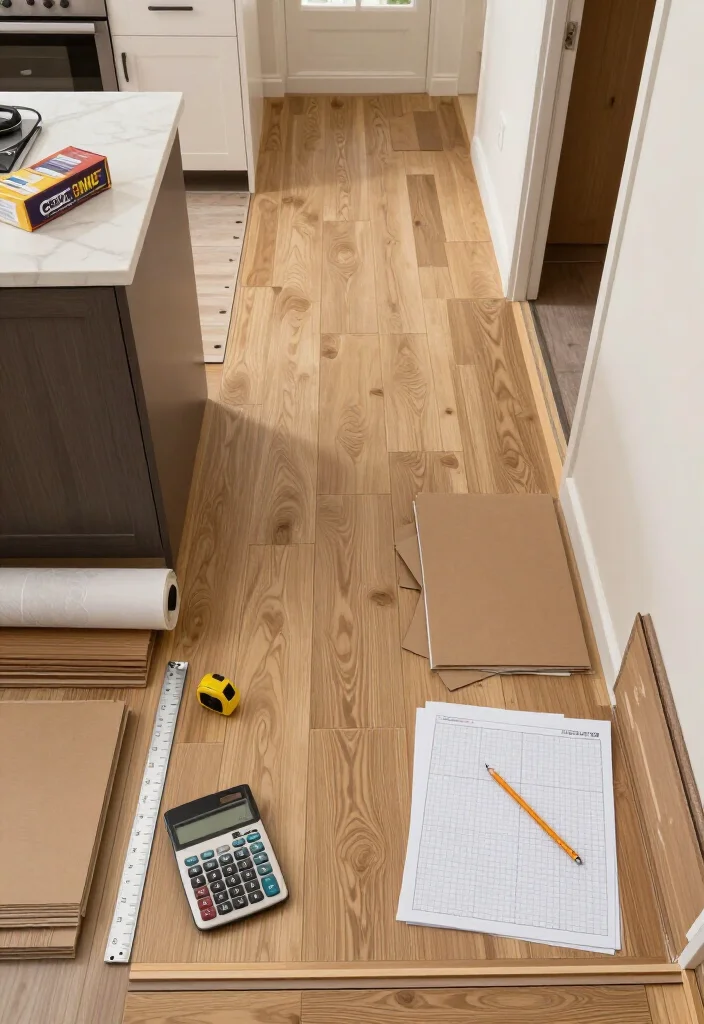
Odd spaces need more than a single calculator number. Divide L-shaped rooms into rectangles, sketch cabinet cutouts, and mark curved walls or narrow closet entries. Kitchens often need extra pieces because islands and fixed cabinets create detailed cuts.
Check the flooring instructions before placing material beneath cabinets. Closets may continue the main pattern or stop at a threshold. Stairs need separate measurements for treads, risers, nosings, adhesives, and edge profiles, so never treat them like ordinary floor area.
Build a mini plan for complex areas:
– Sketch every notch, curve, cabinet, stair, and fixed object.
– Mark edges needing trim, caulk, templates, or transitions.
– Increase waste for repeated detailed cuts and tight corners.
– Order stair parts separately from standard flooring boxes.
Cardboard templates help you test difficult cuts before using finished material. Small sketches make complex spaces easier to price, install, and repair.
You Might Also Like

9. Build a Realistic Flooring Budget from the Calculator Results
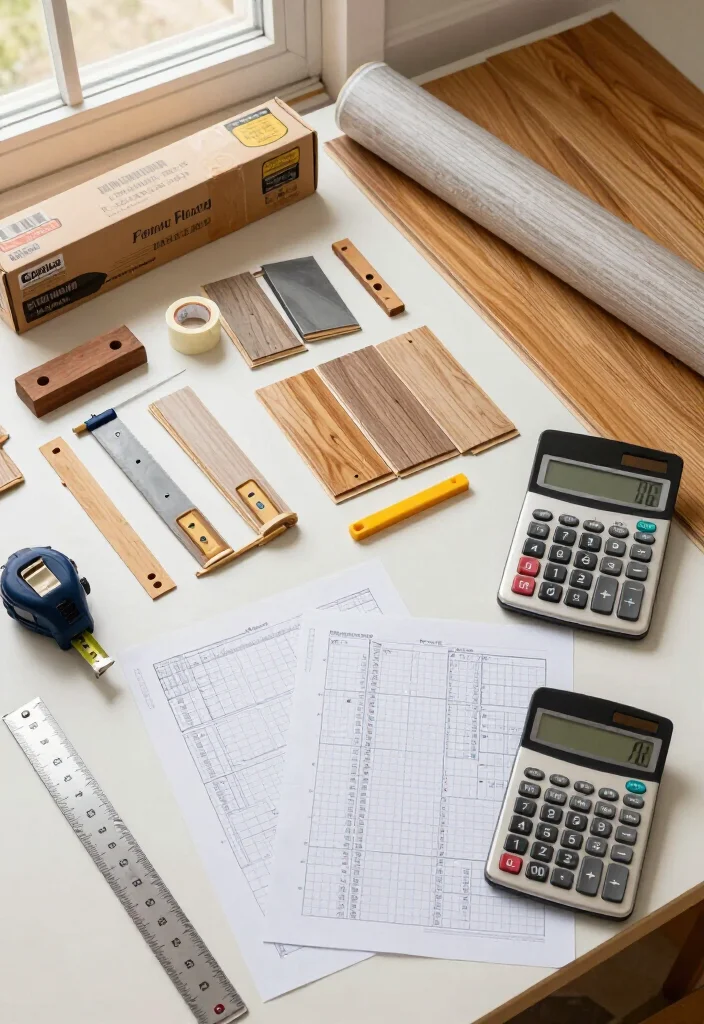
A flooring budget includes much more than the box price. Add waste, underlayment, trim, transitions, delivery, tools, fasteners, adhesive, tax, and disposal. Your calculator supplies the coverage number, while the other planners reveal the real project cost.
Price flooring by full boxes after adding waste. Price underlayment by usable roll coverage, and count baseboards by stock lengths because corners create cut loss. Include shoe molding, thresholds, stair parts, blades, rentals, grout, protective paper, and cleanup supplies.
Break down the expected cost:
– Add flooring boxes after applying the selected waste rate.
– Price underlayment rolls, seam tape, trim, and transitions.
– Include tools, rentals, blades, adhesive, grout, and fasteners.
– Reserve money for delivery, tax, disposal, and repairs.
Save the product name, color, lot number, and receipts. A few spare boards or tiles can protect you from future damage or discontinued styles.
10. Finish with a Final Installation-Day Checklist
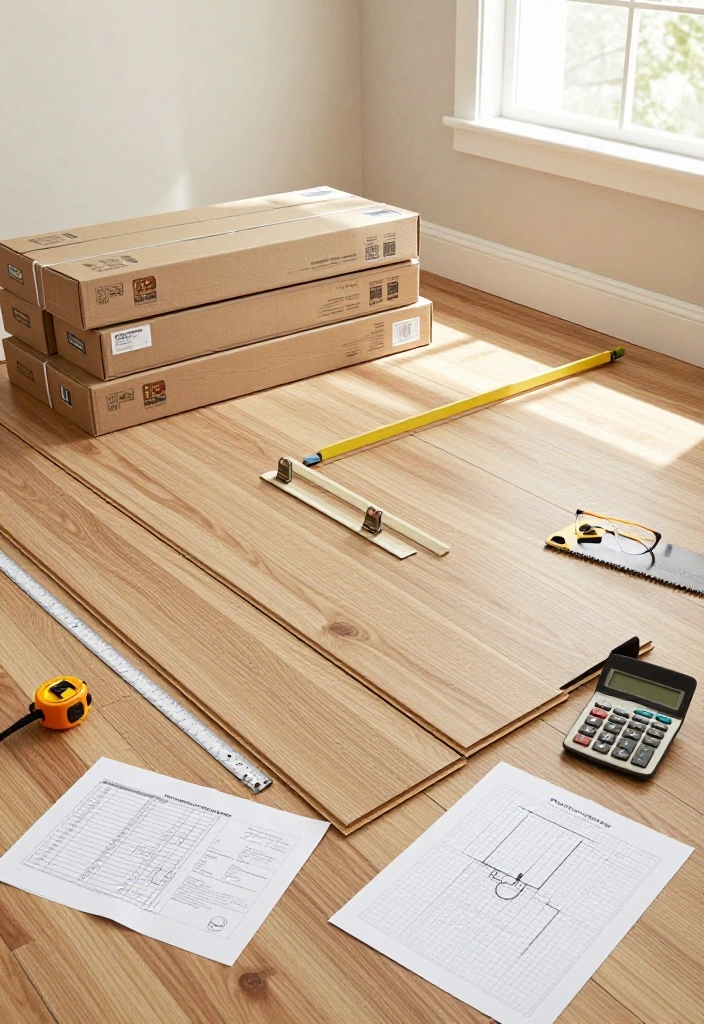
A final check protects all the planning that came before it. Compare delivered boxes with your order, inspect pieces from several packages, and look for damage, shade changes, warped boards, or missing accessories. Set questionable pieces aside before installation begins.
Acclimate flooring when the manufacturer requires it, and keep boxes dry in the correct room. Confirm the subfloor is clean, firm, and level enough for the product. Gather your room sketch, waste estimate, underlayment plan, trim list, tools, safety gear, and spare blades.
Confirm these final details:
– Check flooring, underlayment, trim, transitions, and accessories.
– Verify box counts against the latest room measurements.
– Review expansion gaps, door swings, and height changes.
– Prepare tools, cleanup supplies, safety gear, and spare parts.
Install in order: prepare the subfloor, place underlayment, set the layout, install flooring, fit transitions, then attach trim. Stop when a measurement feels wrong. Fixing one pause is easier than hiding a project-wide mistake.
Finish with a Final Installation-Day Checklist
Editor’s Choice


Conclusion: One Smart Plan Makes the Whole Floor Feel Easier
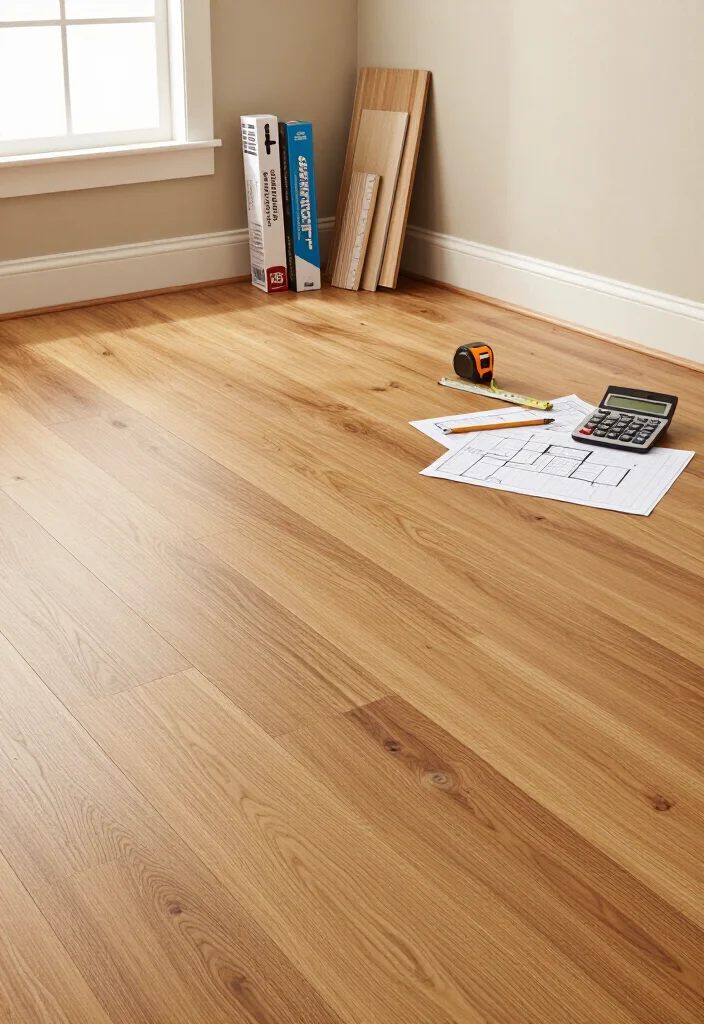
A flooring calculator gives you more than a box count. It helps connect room measurements, smart waste planning, proper underlayment coverage, and finished trim details into one clear project plan.
Take the extra time to measure twice, check product rules, and keep a few repair pieces aside; your future self will be glad you did. With the numbers settled, the fun part gets easier: choosing a floor that feels right for the room and installing it with confidence.
Note: We aim to provide accurate product links, but some may occasionally expire or become unavailable. If this happens, please search directly on Amazon for the product or a suitable alternative.
This post contains Amazon affiliate links, meaning we may earn a small commission if you purchase through our links, at no extra cost to you.
Frequently Asked Questions
Q. What does a Flooring Calculator do?
A Flooring Calculator estimates the total square footage of a room and helps determine how much flooring material you may need for your project based on the measurements you enter.
Q. How do I calculate flooring square footage?
Measure the length and width of the room, then multiply them together. For irregular rooms, divide the space into smaller rectangles, calculate each section separately, and add the totals together.
Q. Should I buy extra flooring material?
Yes. Most flooring projects require additional material to account for cuts, pattern matching, damaged pieces, and installation waste. The exact extra percentage depends on the flooring type and room layout.
Q. Can I use a Flooring Calculator for tile and vinyl flooring?
Yes. Many calculators work for tile, laminate, hardwood, engineered wood, carpet, and vinyl plank flooring because they begin with the room’s total area. Material packaging and installation requirements may differ.
Q. What measurements do I need before using a Flooring Calculator?
You’ll usually need the room’s length and width. For closets, hallways, alcoves, or other connected spaces, measure those separately and include them if they’ll receive the same flooring.
