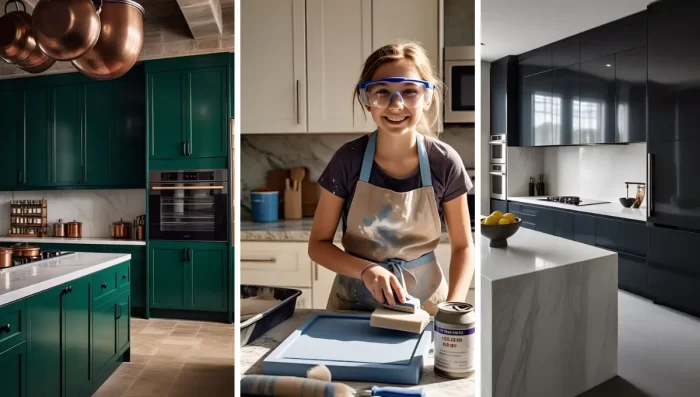
The kitchen is the heart of the home—and the cabinets are its smile. Whether you’re flipping a fixer-upper or just giving your kitchen a quick refresh, choosing the right paint for kitchen cabinets can totally transform the space.
But wait… There are so many types of kitchen cabinet paint! From silky smooth lacquers to durable, no-sand paints, how do you pick the right one?
In this guide, we’ll break down all the major types of kitchen cabinet paint and help you choose the best one based on your kitchen style, budget, and DIY comfort level.
🎨 Why Paint Your Kitchen Cabinets?
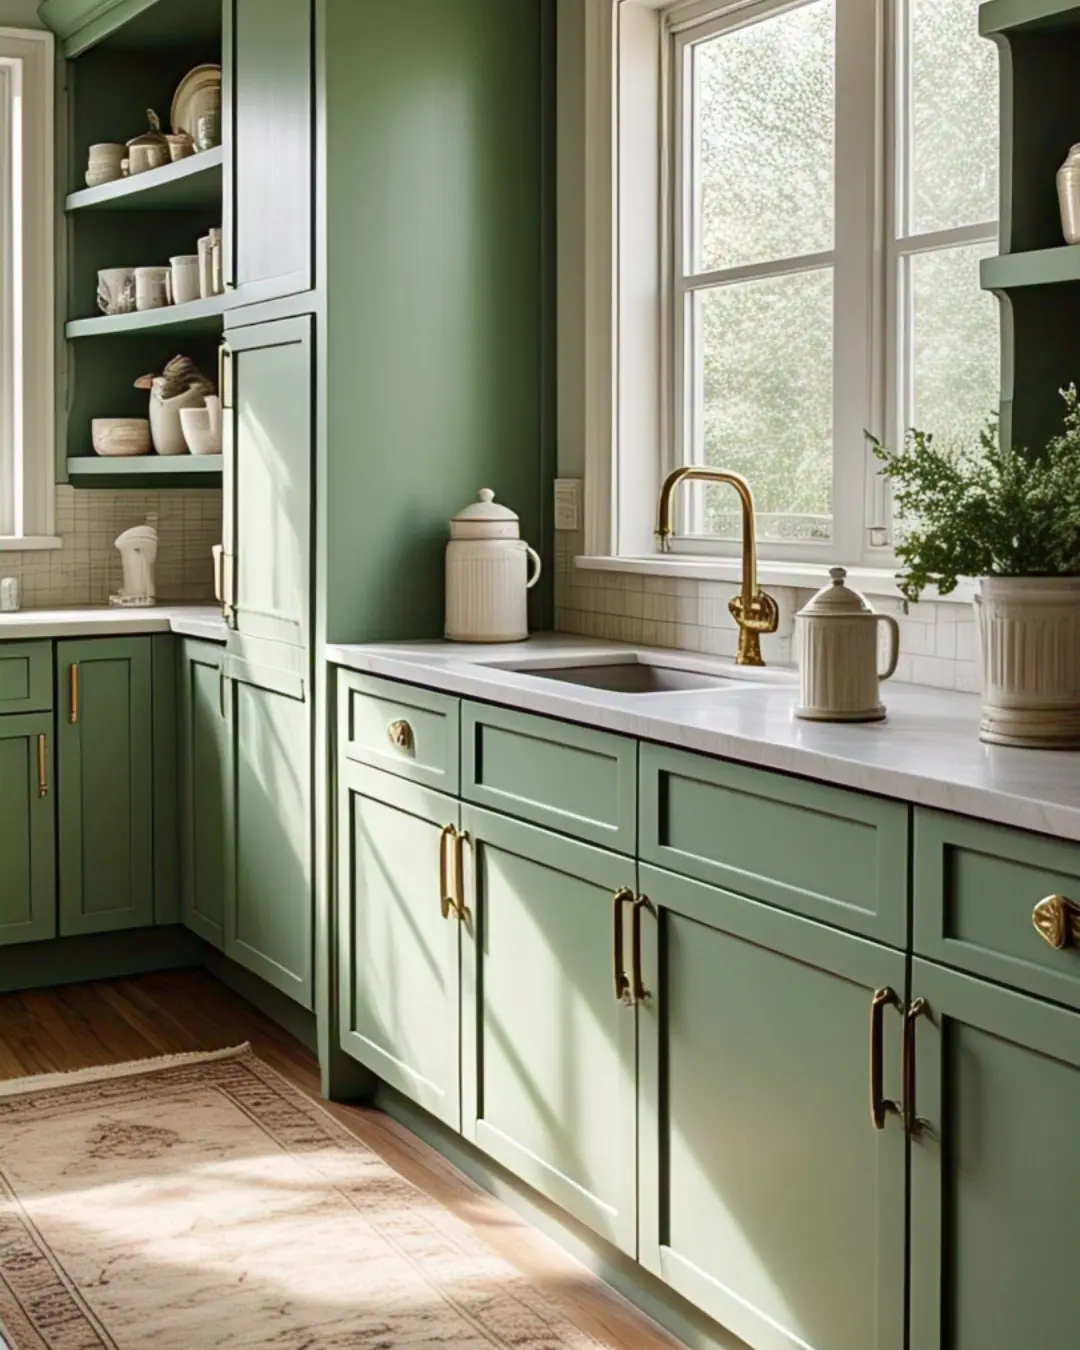
Let’s be real—your kitchen cabinets have seen things. Grease splatters, mystery stains, and that one time you tried to cook “authentic” spaghetti sauce.
Instead of shelling out for a full remodel, a fresh coat of paint can make them look brand new (without your wallet crying).
Whether you’re going for sleek modern, cozy farmhouse, or “I just want them to stop looking sad,” painting is the fastest, cheapest kitchen glow-up ever. Plus, you get bragging rights for DIY-ing it!
Best Paint for Different Cabinet Materials
| Cabinet Material | Best Paint Type | Why? |
|---|---|---|
| Solid Wood | Oil-Based or Acrylic Enamel | Stains beautifully, durable AF |
| Laminate/MDF | Latex or No-Sand Paint | Bonds without peeling |
| Metal | Epoxy or Alkyd Paint | Resists chips and rust |
| Thermofoil | Bonding Primer + Latex | Sticks to slick surfaces |
Pros & Cons of Painting Cabinets
| Pros | Cons |
|---|---|
| ✅ Costs WAY less than replacing ($3–$10/sq. ft. vs. $100+ for new cabinets) | ❌ Time-consuming (unless you cheat with no-sand paint) |
| ✅ Instant style upgrade (dark to light? Retro to modern? Yes!) | ❌ Not indestructible (grease + kids = touch-ups) |
| ✅ Eco-friendly (no landfill waste from old cabinets) | ❌ Prep is KEY (skip cleaning/sanding = peeling disaster) |
Cost to Paint Cabinets:
💰 $3 – $10 per sq. ft. (DIY)
💰 $10 – $25 per sq. ft. (Pro)
Related: Types of Cabinet Doors
Types of Kitchen Cabinet Paint: Which One’s Right for You?
Not all paints are created equal—especially for kitchen cabinets, which face grease, grime, and daily wear. Here’s the lowdown on the best options:
🖌️ 1. Latex Paint: The Easy, Beginner-Friendly Option
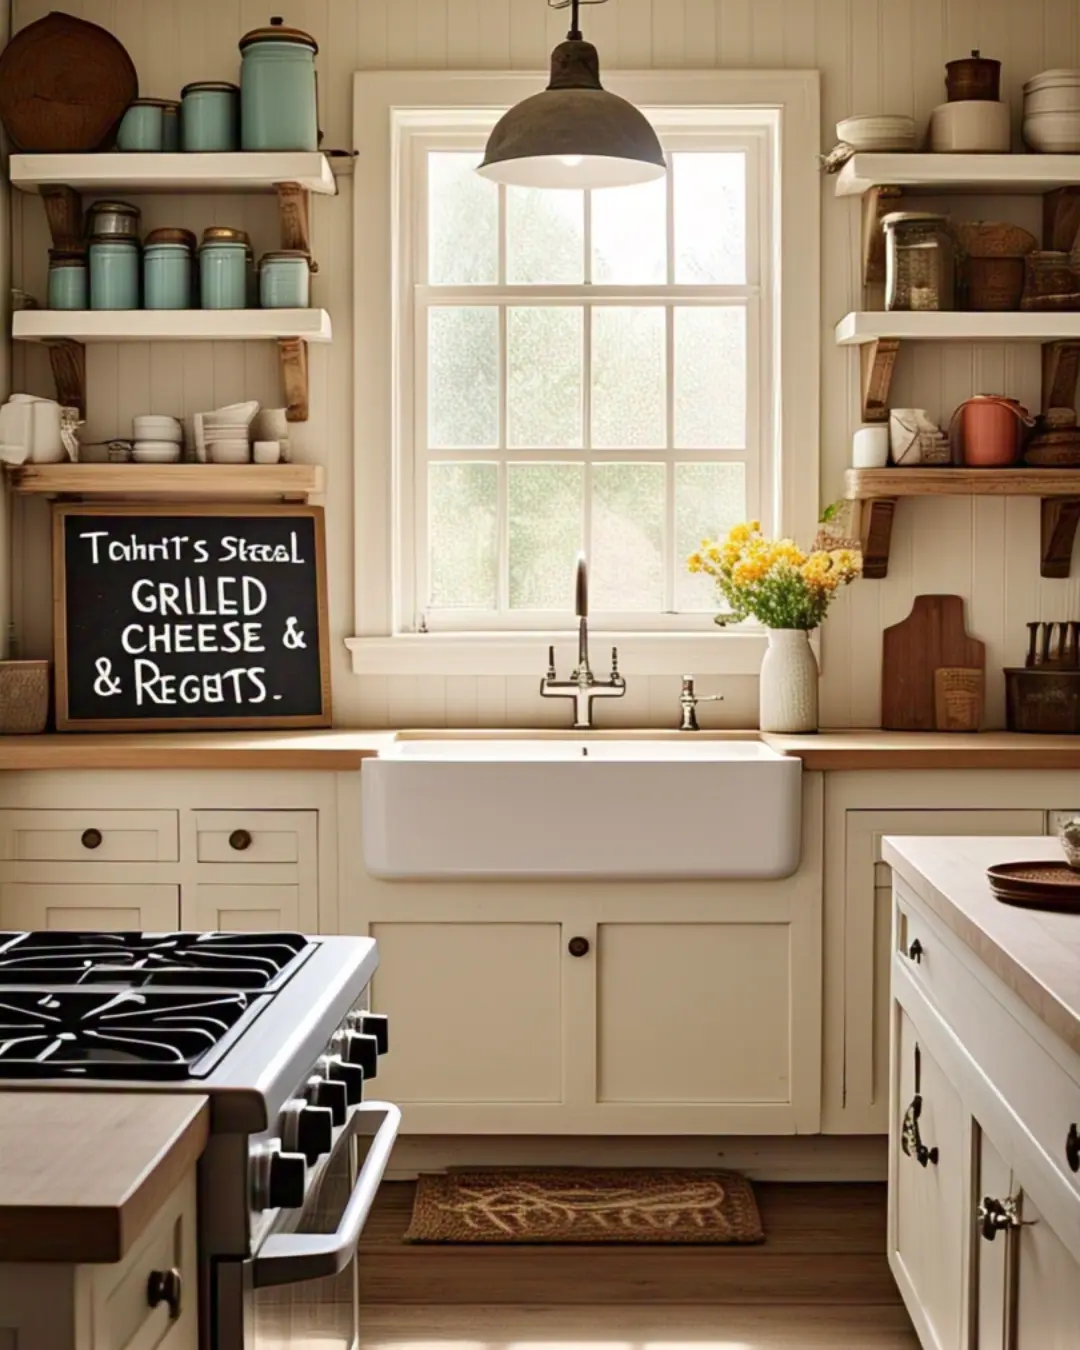
Think of latex paint as the training wheels of cabinet makeovers—easy to use, forgiving, and perfect for your first DIY rodeo.
It’s water-based, so cleanup is a breeze (no toxic fumes or angry spouses waving mineral spirits). Plus, it dries fast, meaning you can go from “meh” to magazine-worthy in a weekend. Just don’t expect it to survive a toddler’s spaghetti attack like oil-based paint would.
Best For:
✅ First-time painters (no fancy tools needed!)
✅ Renters or quick flips (easy to change later)
✅ Low-traffic kitchens (if your idea of cooking is microwaving pizza)
Pros & Cons of Latex Paint
| Pros | Cons |
|---|---|
| ✅ Easy cleanup (soap + water!) | ❌ Less durable (grease stains laugh at it) |
| ✅ Low odor (no chemical headaches) | ❌ Shows brush marks if you rush |
| ✅ Dries fast (impatient DIYers rejoice!) | ❌ Needs primer for slick surfaces |
Cost:
💰 $2 – $5 per sq. ft. (Budget-friendly for the win!)
Related: Types of Countertop Edges
🛢️ 2. Oil-Based Paint: The Classic, Durable Choice
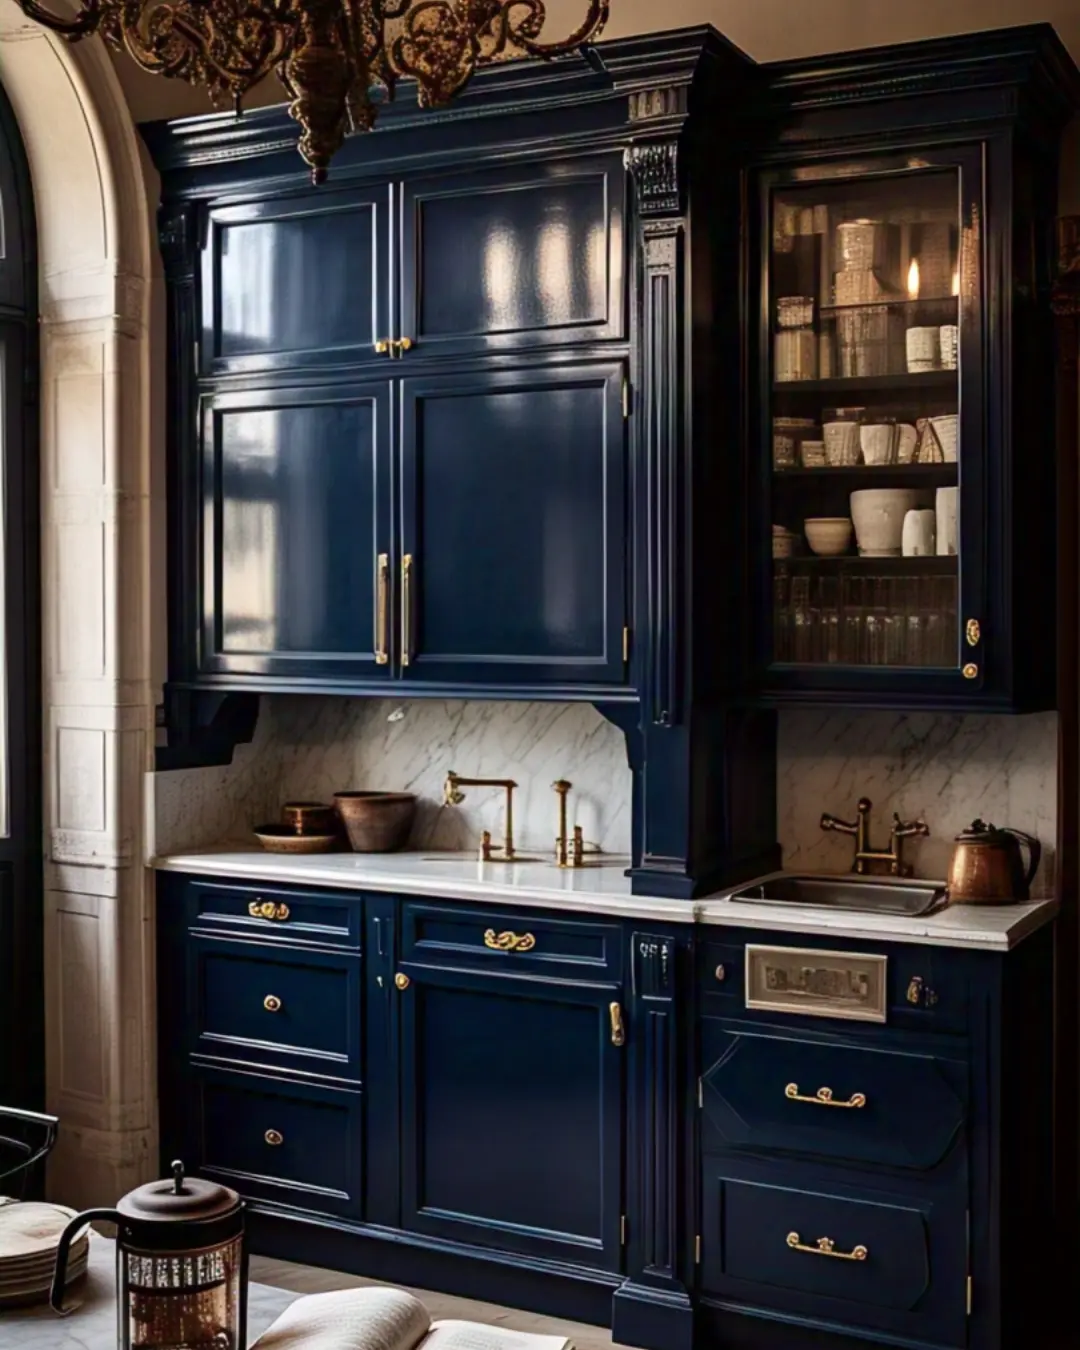
Oil-based paint is like that indestructible ’90s Nokia phone—it’s tough, reliable, and laughs in the face of grease splatters and toddler attacks.
Sure, it smells like a chemistry experiment and takes forever to dry, but once it’s on? Your cabinets will be bulletproof (okay, maybe not literally, but close).
Perfect for folks who want a “set it and forget it” finish that lasts decades. Just don’t blame us when your kitchen smells like a hardware store for a week.
Best For:
✅ High-traffic kitchens (for families who actually cook cook)
✅ Cabinet perfectionists (that glass-smooth finish, though)
✅ Old-school DIYers (who aren’t scared of mineral spirits)
Pros & Cons of Oil-Based Paint
| Pros | Cons |
|---|---|
| ✅ Durability champ (resists chips, stains, and regrets) | ❌ Strong fumes (open windows or lose brain cells) |
| ✅ Self-leveling (hides brush marks like a pro) | ❌ Slow drying (24+ hours between coats—bring snacks) |
| ✅ Glossy AF (that luxe, “I hired someone” shine) | ❌ Messy cleanup (mineral spirits or bust) |
Cost:
💰 $4 – $8 per sq. ft. (Cheaper than new cabinets, pricier than latex)
💨 3. Lacquer Cabinet Paint: The Sleek, High-End Look
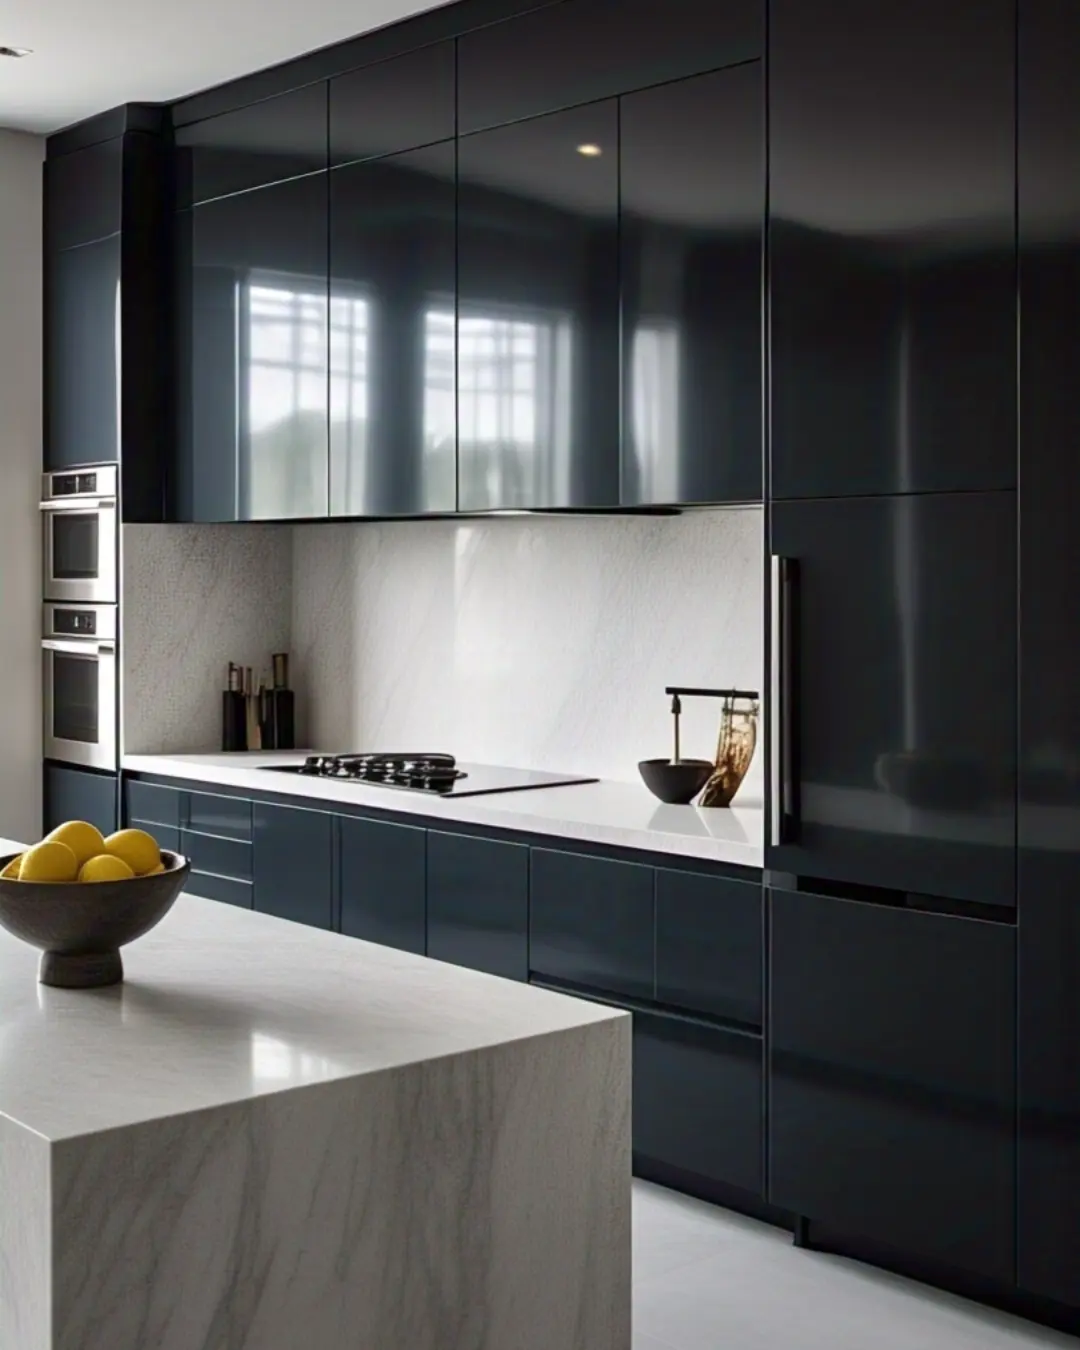
Lacquer is the James Bond of cabinet paints—sleek, sophisticated, and built for speed (drying time: approximately “blink and you’ll miss it”).
This pro-grade finish delivers a mirror-like, ultra-durable surface that makes even IKEA cabinets look custom. But beware: it’s not for the faint of heart (or the poorly ventilated).
Best For:
✅ High-end kitchens (the kind that make guests whisper “Wow, you’re rich?”)
✅ Perfectionists (who want a flawless, furniture-grade finish)
✅ Pros (or very brave DIYers) with spray equipment
Pros & Cons of Lacquer Paint
| Pros | Cons |
|---|---|
| ✅ Glass-smooth finish (no brush marks ever) | ❌ Requires spraying (brushing = sad streaks) |
| ✅ Dries crazy fast (recoat in minutes) | ❌ Fumes will knock you out (serious ventilation needed) |
| ✅ Super durable (resists chips and stains) | ❌ Not DIY-friendly (practice on scrap wood first) |
| ✅ Self-sealing (no topcoat needed) | ❌ Shows imperfections (your cabinets must be flawless pre-paint) |
Cost:
💰 $8 – $20+ per sq. ft. (Spray equipment + pro labor adds up)
🛠️ 4. Chalk Paint: The Farmhouse Favorite (No Sanding, No Problem!)
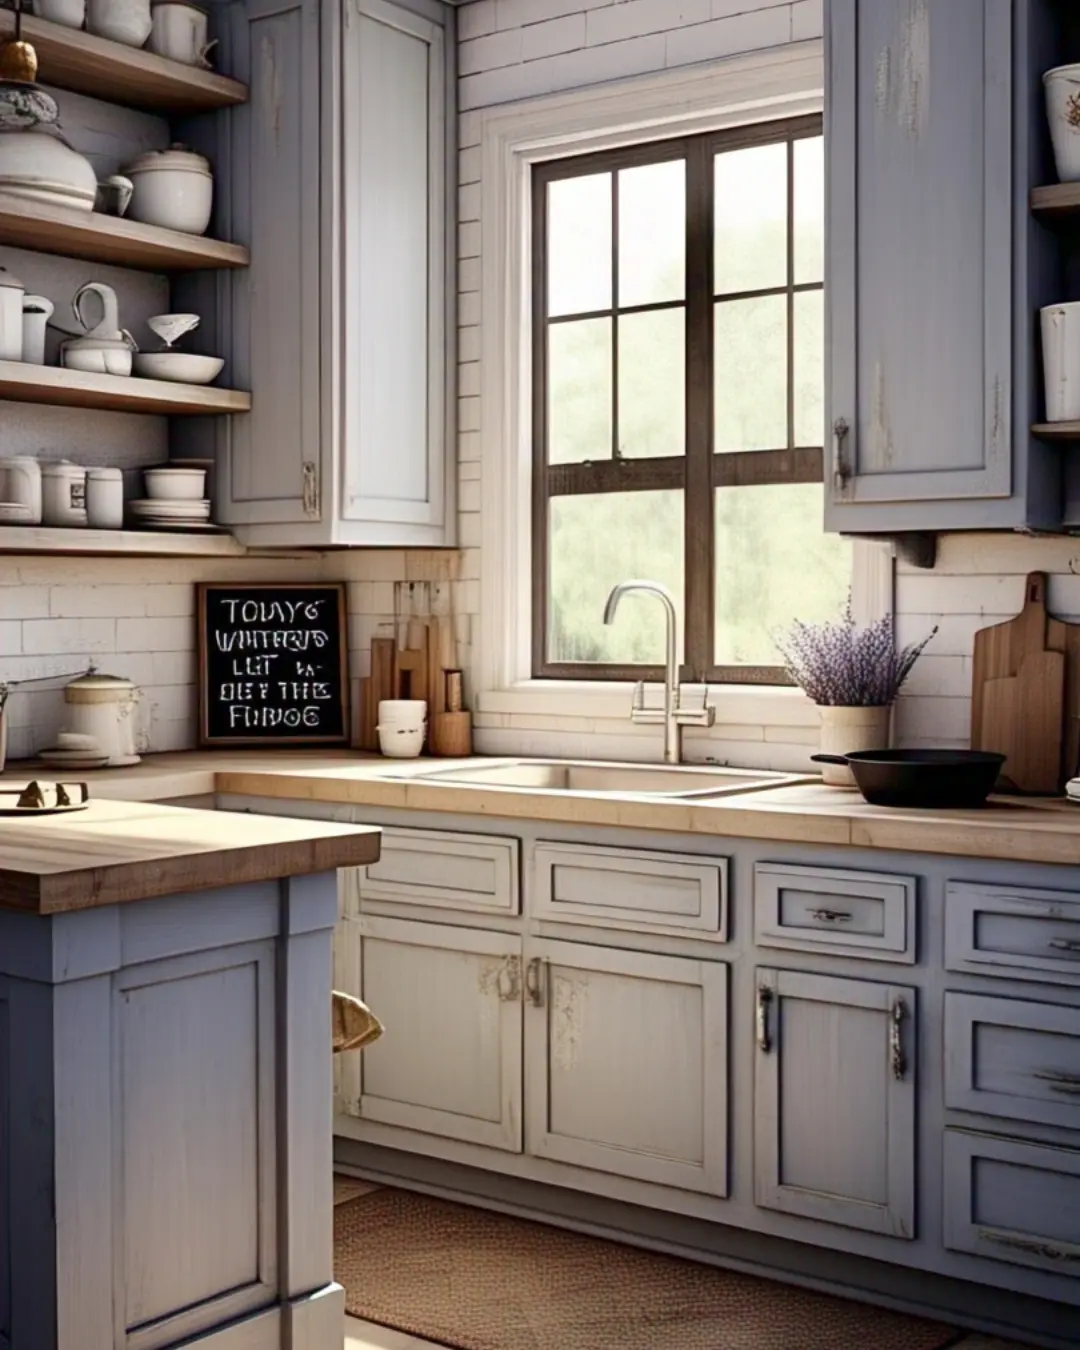
Want a shabby-chic makeover without the sanding, stripping, or sanity loss? Chalk paint is your lazy genius bestie—it sticks to anything (laminate, metal, even that weird 90s faux wood) and dries with a matte, vintage vibe that screams “I found this at a French flea market.” Perfect for creating that lived-in farmhouse charm in one weekend flat.
Best For:
✅ Rustic, cottage, or farmhouse kitchens (Pinterest moms, rejoice!)
✅ First-time DIYers (it’s almost foolproof)
✅ Upcycling thrifted finds (goodbye, dated oak cabinets!)
✅ Renters (peels off easier than latex for move-out)
Pros & Cons of Chalk Paint
| Pros | Cons |
|---|---|
| ✅ No sanding or priming needed (yes, really!) | ❌ Not as durable (wears faster than enamel) |
| ✅ Dries ultra-matte (perfect for vintage/distressed looks) | ❌ Requires wax/sealer (extra step for protection) |
| ✅ Thick consistency (hides brush strokes like magic) | ❌ Limited sheen options (matte only, folks) |
| ✅ Easy touch-ups (just dab and go!) | ❌ Can feel “chalky” (not for smooth-lovers) |
Cost:
💰 $5 – $15 per sq. ft. (Paint + wax/sealer adds up).
🧴 5. Acrylic Enamel Paint: The Heavy-Duty Hero of Cabinet Makeovers
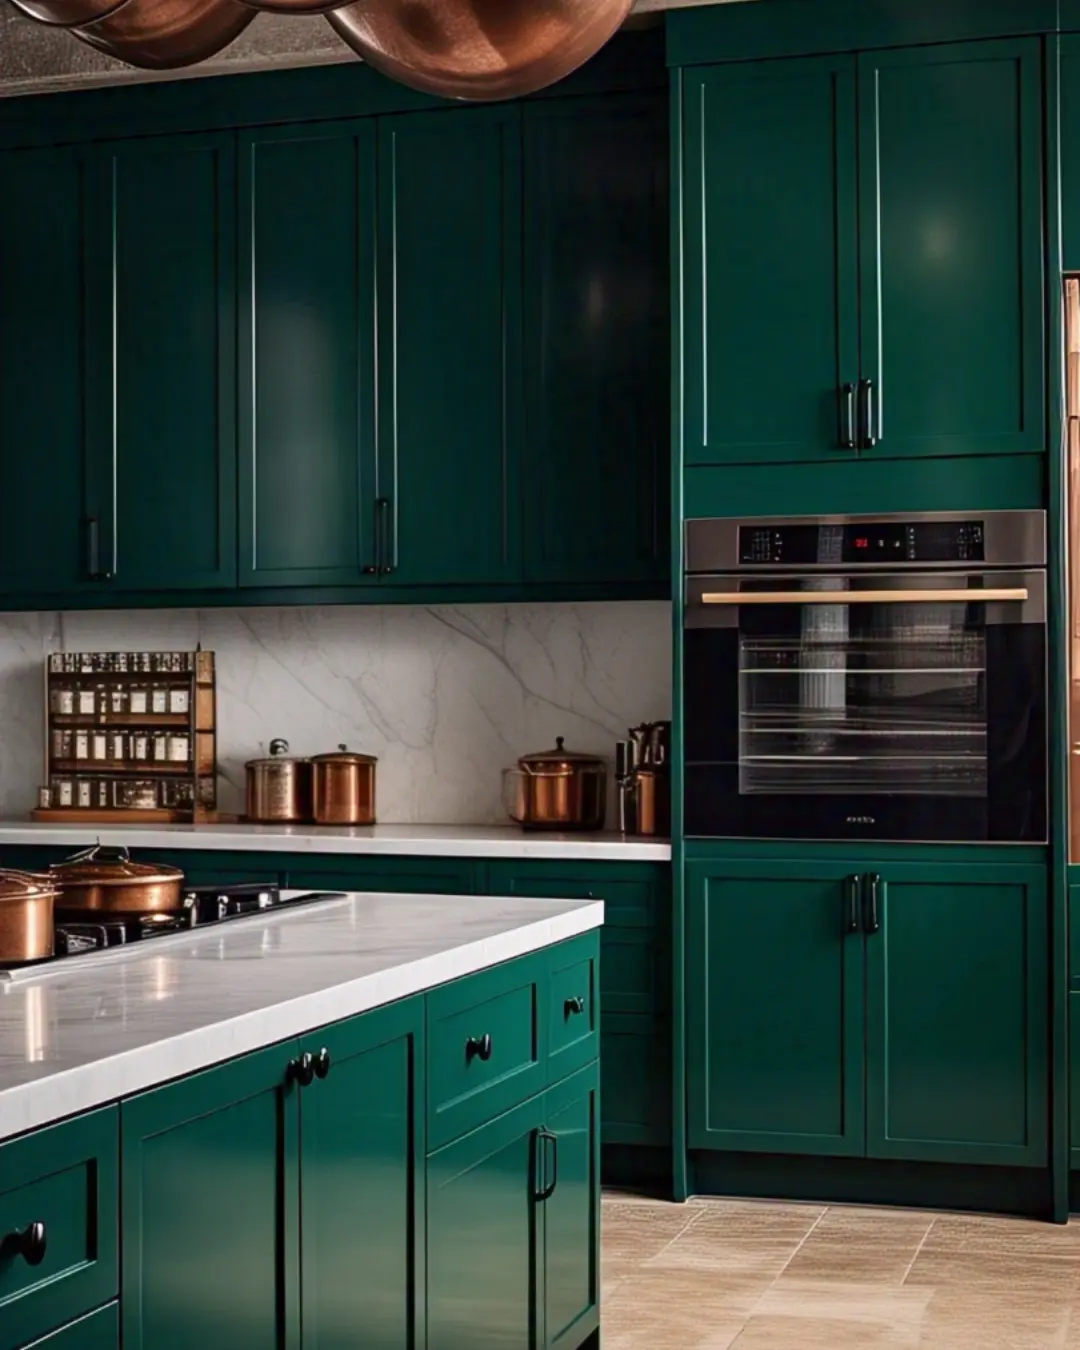
When your kitchen cabinets need military-grade protection against spaghetti sauce splatters, sticky fingerprints, and the general chaos of daily life, acrylic enamel paint is your ultimate ally.
This tough-as-nails finish combines the durability of traditional enamel with the easy cleanup and low odor of water-based formulas—making it the perfect balance for modern homes.
Why Enamel Paint?
✔️ Harder than a toddler’s grip on a cookie jar
✔️ Smoother than your excuse for ordering takeout again
✔️ More stain-resistant than your college sweatpants
Best For:
✅ Families who treat their kitchen like a battle zone
✅ Perfectionists who want brushstrokes to disappear
✅ Pet owners fighting the never-ending fur war
✅ Anyone who’s tired of repainting every year
Enamel Paint Face-Off
| Type | Dry Time | Cleanup | Best Use |
|---|---|---|---|
| Oil-Based Enamel | Slow (24+ hrs) | Mineral Spirits | High-traffic areas |
| Water-Based Enamel | Fast (6-8 hrs) | Soap & Water | Kid-friendly spaces |
| Hybrid Enamel | Medium (12 hrs) | Both | Best of both worlds |
Application Pro Tips
- Prep Like Your Marriage Depends On It
- Degrease with TSP substitute
- Sand until smoother than your pickup lines
- Prime with a bonding primer
- Paint Like a Neurosurgeon
- Use a high-quality angled brush
- Maintain a “wet edge” to prevent lap marks
- Apply thin coats (thick = drips = regrets)
- Dry Like You’re Being Paid By the Hour
- Resist the urge to touch (24 hours minimum)
- Wait 3 days before heavy use
- Full cure takes 2 weeks (patience, grasshopper)
Cost Breakdown
- DIY: $3–$8 per sq. ft.
- Pro Job: $10–$25 per sq. ft.
- Your Sanity: Priceless
How to Paint Kitchen Cabinets Like a Pro (Without Losing Your Mind)
Painting kitchen cabinets is the #1 budget-friendly kitchen upgrade, but doing it right makes all the difference between “Wow!” and “Why does this look like a preschool art project?” Follow these steps for a smooth, durable, professional-looking finish that lasts.
🛠️ Supplies You’ll Need
- Paint (acrylic enamel, latex, or oil-based—see our paint guide above!)
- Degreaser (TSP substitute or Krud Kutter)
- Sandpaper (150-grit for prep, 220-grit for smoothing)
- High-quality brushes + foam roller (angled brush for edges, mini roller for flat surfaces)
- Painter’s tape + drop cloths (unless you love scrubbing paint splatters)
- Screwdriver (to remove doors/hardware)
- Labeling system (trust us, you’ll forget what goes where)
📝 Step-by-Step Guide
1. Remove Doors, Drawers & Hardware
- Take off all doors, drawers, and hardware (hinges, knobs, pulls).
- Label each piece with painter’s tape + numbers (e.g., “Upper Left 1”).
- Store screws in ziplock bags (labeled, because adulting is hard).
2. Deep Clean (Seriously, Don’t Skip This!)
- Use degreaser (like TSP) to remove years of cooking grease.
- Wipe down with a damp microfiber cloth—no residue left behind!
3. Sand for Better Paint Adhesion
- Lightly sand all surfaces with 150-grit sandpaper.
- For pre-painted cabinets, scuff up the gloss so new paint sticks.
- Wipe away dust with a tack cloth (or damp rag).
4. Prime (The Secret to Longevity!)
- Use a stain-blocking primer (like Zinsser BIN) if:
- Your cabinets are stained/dark.
- You’re painting laminate/MDF.
- Let dry completely (check the can for time).
5. Paint Like a Pro
✅ Technique:
- Cut in edges first with an angled brush.
- Roll flat surfaces with a foam roller for a smooth finish.
- Thin coats > thick globs (2-3 thin layers dry better than 1 thick mess).
- Let dry fully between coats (usually 4–6 hours).
6. Reassemble & Admire Your Work
- Reattach doors/drawers after paint fully cures (3–7 days).
- Install new hardware for an instant upgrade (or clean the old stuff).
💡 Pro Tips for a Flawless Finish
- Paint in a dust-free zone (garage or covered patio).
- Use a paint additive (like Floetrol) to reduce brush marks.
- Wait 2–3 days before slamming doors (patience = no chips).
- Add a topcoat (polyurethane for extra durability).
💰 Cost Breakdown
| Option | Cost (DIY) |
|---|---|
| Paint + Supplies | $100–$300 |
| New Hardware | $50–$200 |
| Professional Job | $1,500–$5,000 |
Painting yourself saves thousands—and you get bragging rights!
🎨 Before & After Inspiration
*”A dated honey-oak kitchen transformed with creamy white acrylic enamel paint, modern black hardware, and open shelving. The once-dark space now feels bright, airy, and straight out of a home magazine—all for under $200!”*
What paint finish should I use for kitchen cabinets?
For kitchen cabinets, semi-gloss (35-50% sheen) is the gold standard—durable, wipeable, and just enough shine to elevate your space.
If you prefer a modern matte look, opt for satin (25-35% sheen), but know it’ll need extra TLC with grease splatters.
Avoid flat finishes (they stain) and high-gloss (unless you love fingerprint patrol)—balance beauty and practicality! 🎨✨
🏷️ Cabinet Paint Kits: Everything in One Box
Best for: First-time painters who want a stress-free project.
Popular Brands:
- Rustoleum Cabinet Paint Kit
- Behr Cabinet Paint Kit
Why it’s great:
These kits come with everything—cleaners, deglossers, paint, topcoat, and instructions. No guesswork needed.
Pros:
- Designed just for cabinets
- Saves time choosing separate products
- Great for beginners
Cons:
- Fewer color options
- Not always budget-friendly
🔧 Rustoleum cabinet paint is a hit among DIYers for its ease and durability.
🏆 Best Paint Brands for Kitchen Cabinets
Let’s face it—brand matters when it comes to kitchen paint. Here are some top picks:
1. Sherwin-Williams
Their cabinet paint from Sherwin-Williams is smooth, strong, and made to resist moisture and stains. Popular picks include Emerald Urethane Trim Enamel.
2. Benjamin Moore
Known for elegance and quality. Benjamin Moore cabinet paint (especially their Advance line) levels like a dream and dries to a furniture-quality finish.
3. Behr
Home Depot’s go-to brand. Behr cabinet paint is affordable and delivers great results, especially their Alkyd Semi-Gloss Enamel.
🧪 Specialty Paints to Consider
- Acrylic-Alkyd Hybrid: Like oil-based but easier to clean. Ideal middle ground.
- Milk Paint: Eco-friendly and low-VOC. Great for antique looks.
- Two-Part Epoxy Paint: Super tough—often used for industrial kitchens.
🎯 How to Choose the Best Paint for Cabinets
Here’s a quick cheat sheet:
| Your Need | Recommended Paint Type |
|---|---|
| DIY-friendly | Latex or chalk paint |
| High durability | Oil-based or enamel |
| No sanding prep | Chalk paint or cabinet kits |
| Ultra-smooth finish | Lacquer or Benjamin Moore Advance |
| Eco-conscious | Milk paint or water-based enamel |
| Budget-conscious | Behr or Rustoleum kits |
🪄 Pro Tips for Painting Kitchen Cabinets
- Clean first. Always degrease your cabinets before painting.
- Don’t skip primer. It makes all the difference in adhesion.
- Use quality brushes or rollers. Cheap tools = streaky finish.
- Label your doors. So you don’t play cabinet Jenga later.
- Let it cure. Paint may feel dry, but it takes days to fully harden.
🌟 Final Thoughts: What’s the Best Cabinet Paint for You?
So, what’s the best cabinet paint for your kitchen? If you’re a busy parent who considers cereal a food group, go for acrylic enamel—it’s tougher than your toddler’s tantrums. If you’re a Pinterest-perfect DIYer craving that farmhouse vibe, chalk paint lets you distress cabinets like you’re starring in a HGTV makeover (minus the camera crew). And if you’re a speed demon who wants results yesterday, no-sand kits are your lazy-day heroes.
At the end of the day, the best paint is the one that matches your patience level, lifestyle, and ability to resist touching wet surfaces. Just remember: Even the fanciest paint won’t hide the fact that you still haven’t fixed that squeaky cabinet hinge. Priorities, people! 🎨😉
FAQs About Painting Kitchen Cabinets
Do I really need to sand before painting?
Only if you want the paint to actually stick—skip it, and you’ll be repainting by next Tuesday.
What’s the most durable cabinet paint?
Acrylic enamel: tougher than your mother-in-law’s meatloaf.
Can I paint laminate/MDF cabinets?
Yes, but use a bonding primer first—or risk peeling like a bad sunburn.
How long does painted cabinets last?
5–10 years if done right, or 5–10 minutes if your toddler finds a fork.
What’s the fastest way to paint cabinets?
No-sand paint kits (aka “cheat mode” for impatient DIYers).
Additionally, don’t forget to read the other post on house making ideas, which will provide you with an insightful and helpful perspective.
