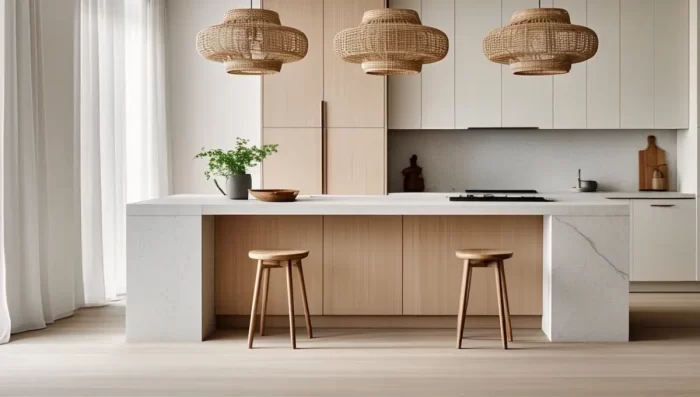
If you love ultra-modern, sharp lines, the mitered edge is your countertop’s best friend. This edge style creates a thicker, more luxurious look without needing a solid slab—just clever craftsmanship!
- What Is a Mitered Edge?
- What is a Mitered Edge Countertop?
- Why Mitered Edges are Trending in Kitchens
- How a Mitered Edge is Made? Step-by-Step
- Mitered Edge vs Regular Edge: What’s the Difference?
- Mitered Edge Countertops for Kitchen Islands
- Best Materials for Mitered Edge Countertops
- What is the standard Thickness for Mitered Countertops
- What is the difference between a square edge and a mitered edge?
- Mitered Edge Countertops in Modern Homes
- Mitered Edge Countertops: Pros & Cons
- How to Take Care of Your Mitered Edge Countertop?
- DIY or Call a Pro?
- What is the Cost of Mitered Edge Countertops?
- 📊 Additional Cost Factors
- 💡 How to Save
- ⚠️ Hidden Costs
- Design Ideas to Try With Mitered Edges
- Final Thoughts on Choosing a Mitered Edge Countertop
- FAQs About Mitered Edge Countertops
What Is a Mitered Edge?
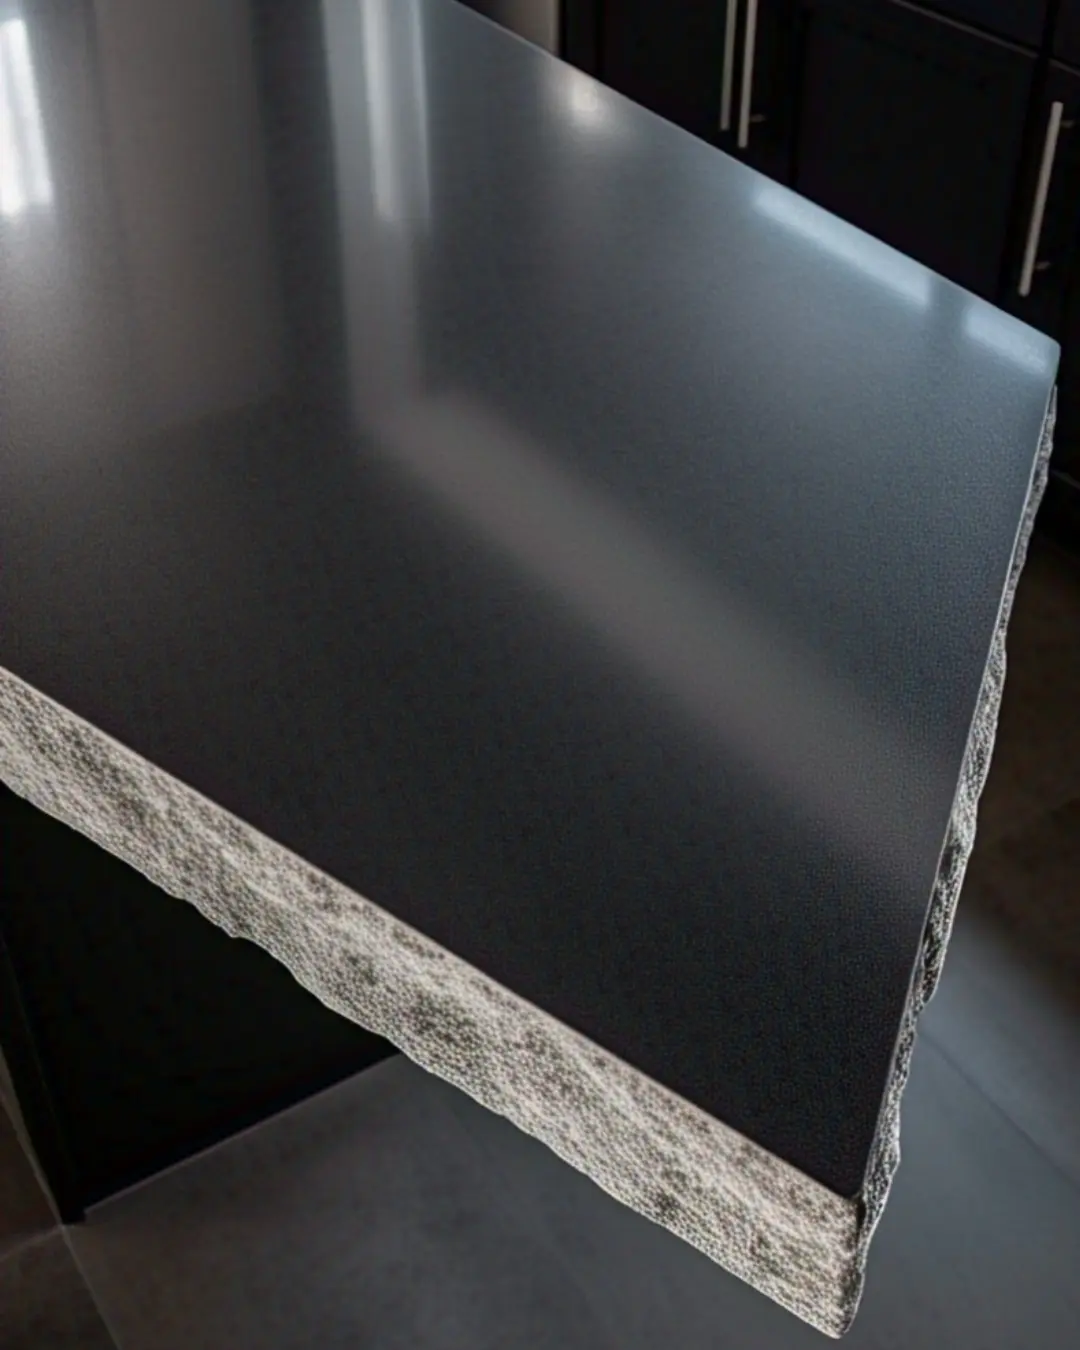
Imagine folding a piece of paper to make it look thicker—that’s the magic of a mitered edge!
✔ How it works: Two pieces of countertop are cut at a 45° angle and joined to form a seamless, squared-off edge.
✔ Looks like: A bold, thick slab (even if it’s thin material).
✔ Best for: Modern, minimalist, and high-end kitchens.
Related: Types of Countertop Edges
What is a Mitered Edge Countertop?
Let’s keep it simple — a mitered edge countertop is like a kitchen countertop that puts on a fancy outfit. It’s when two pieces of countertop material are cut at an angle (usually 45 degrees) and glued together to look super thick and stylish.
It’s like putting on fake muscles to look stronger — except for your countertop!
Why Mitered Edges are Trending in Kitchens
People love them because they look rich, modern, and make your kitchen feel like it belongs in a magazine. Think of it like upgrading your jeans to designer ones. Same function, way cooler look.
How a Mitered Edge is Made? Step-by-Step
A mitered edge transforms thin countertop materials into thick, high-end-looking slabs through precise fabrication. Here’s how pros do it:
Step 1: Material Selection
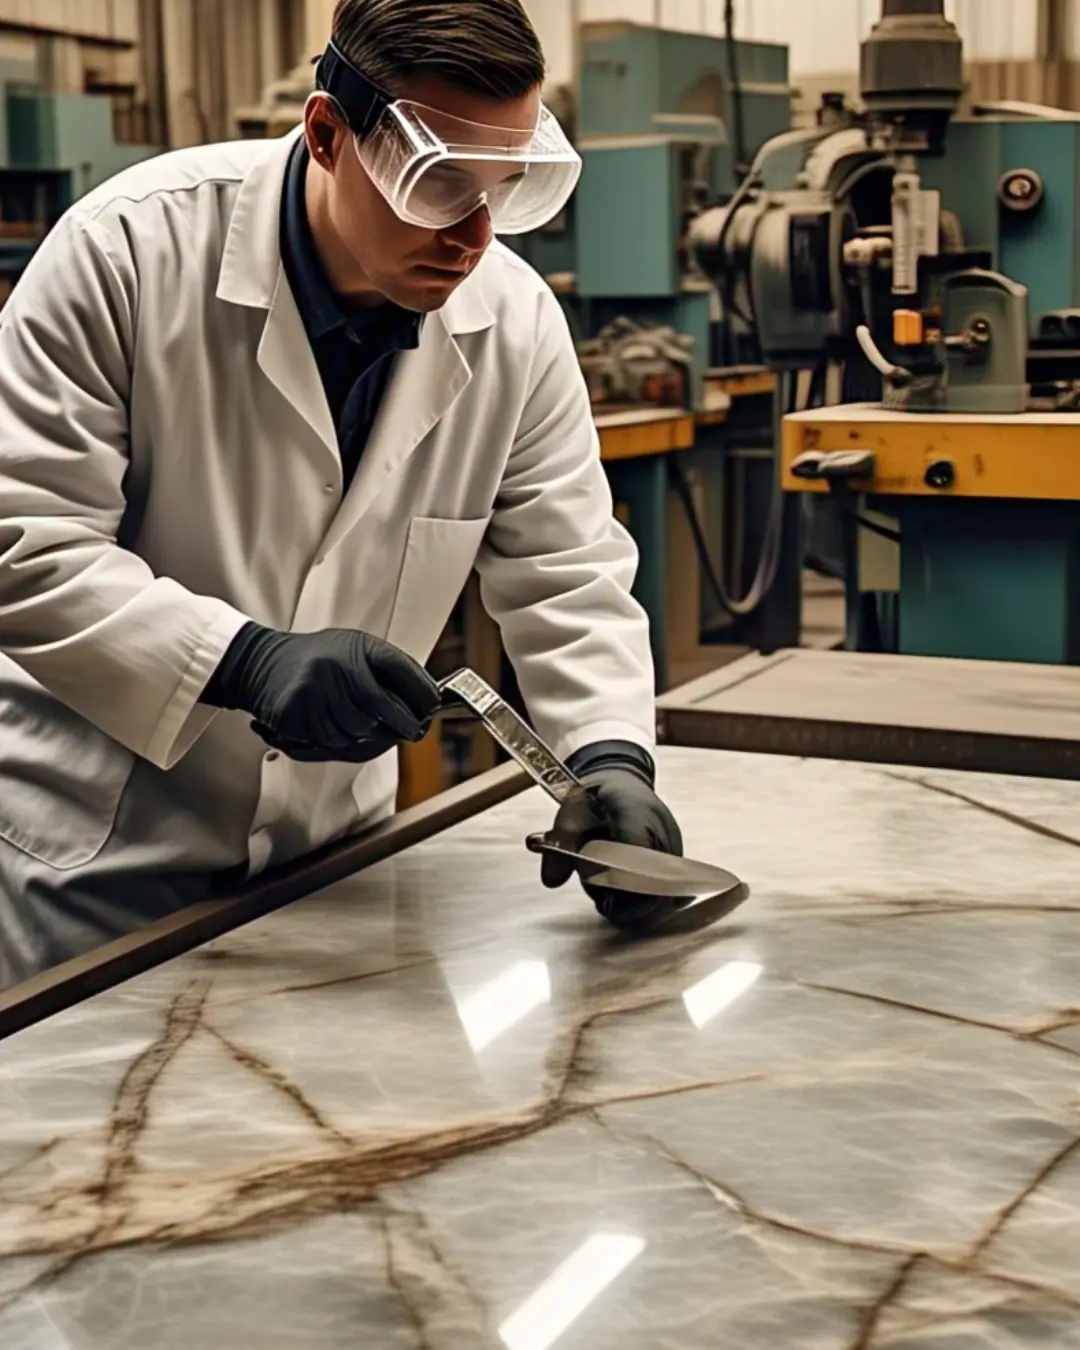
✔ Best Choices: Quartz, granite, porcelain (holds 45° cuts well)
🚫 Avoid: Laminate, concrete (fragile at thin angles)
Step 2: Precision Cutting
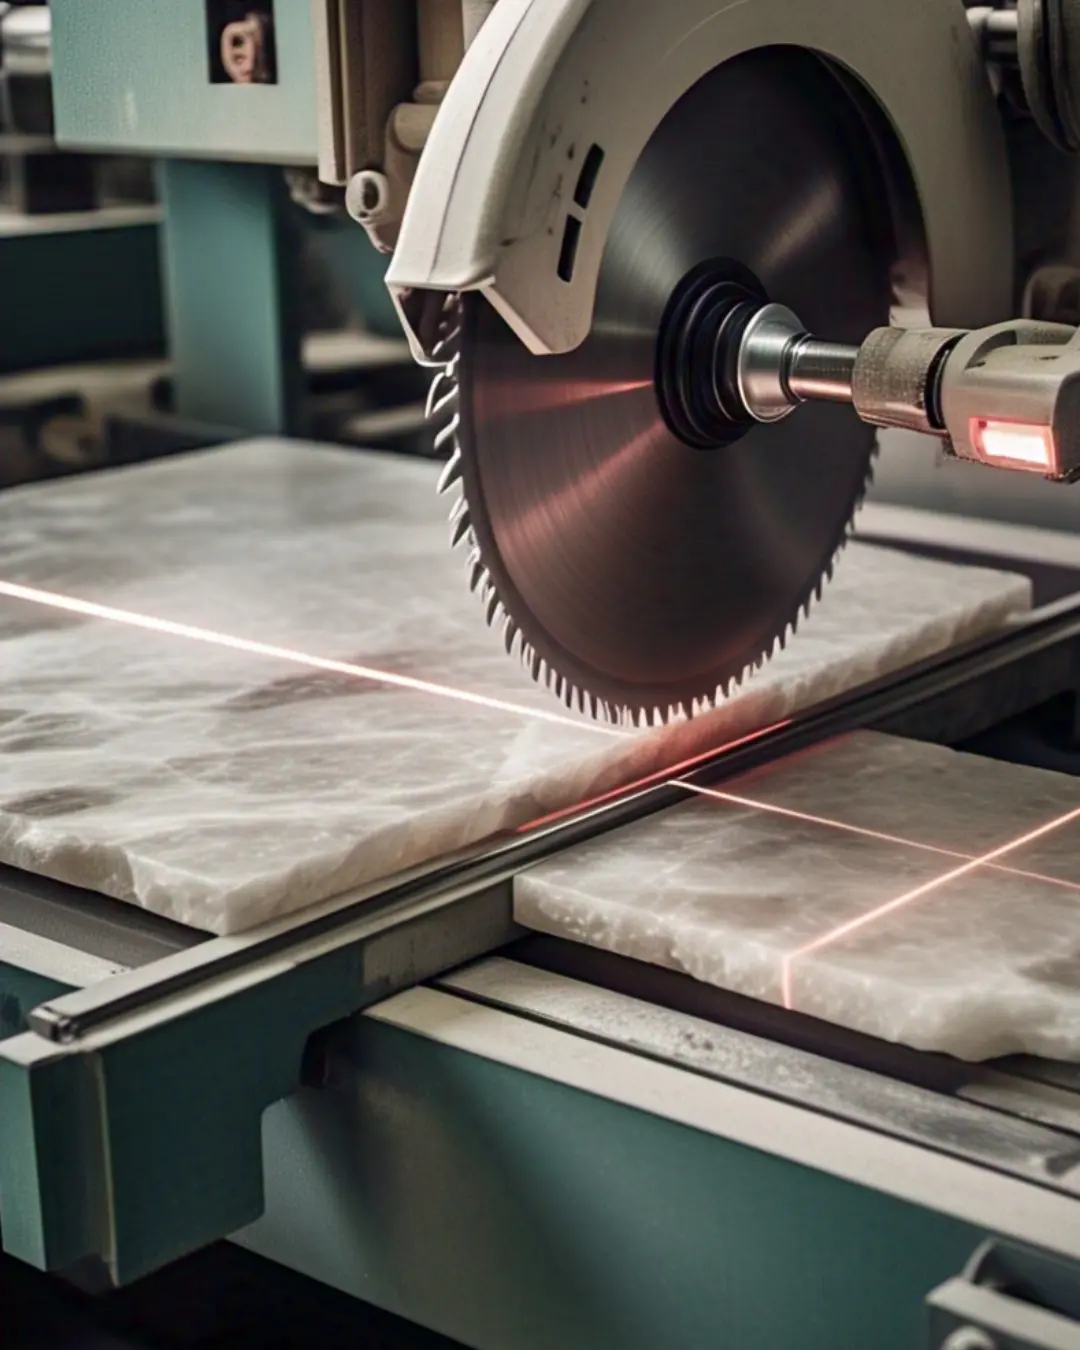
- A CNC machine or skilled artisan cuts the slab’s edge at a perfect 45° angle.
- Key Detail: The underside is cut deeper to hide the seam.
Step 3: Dry-Fit & Gluing
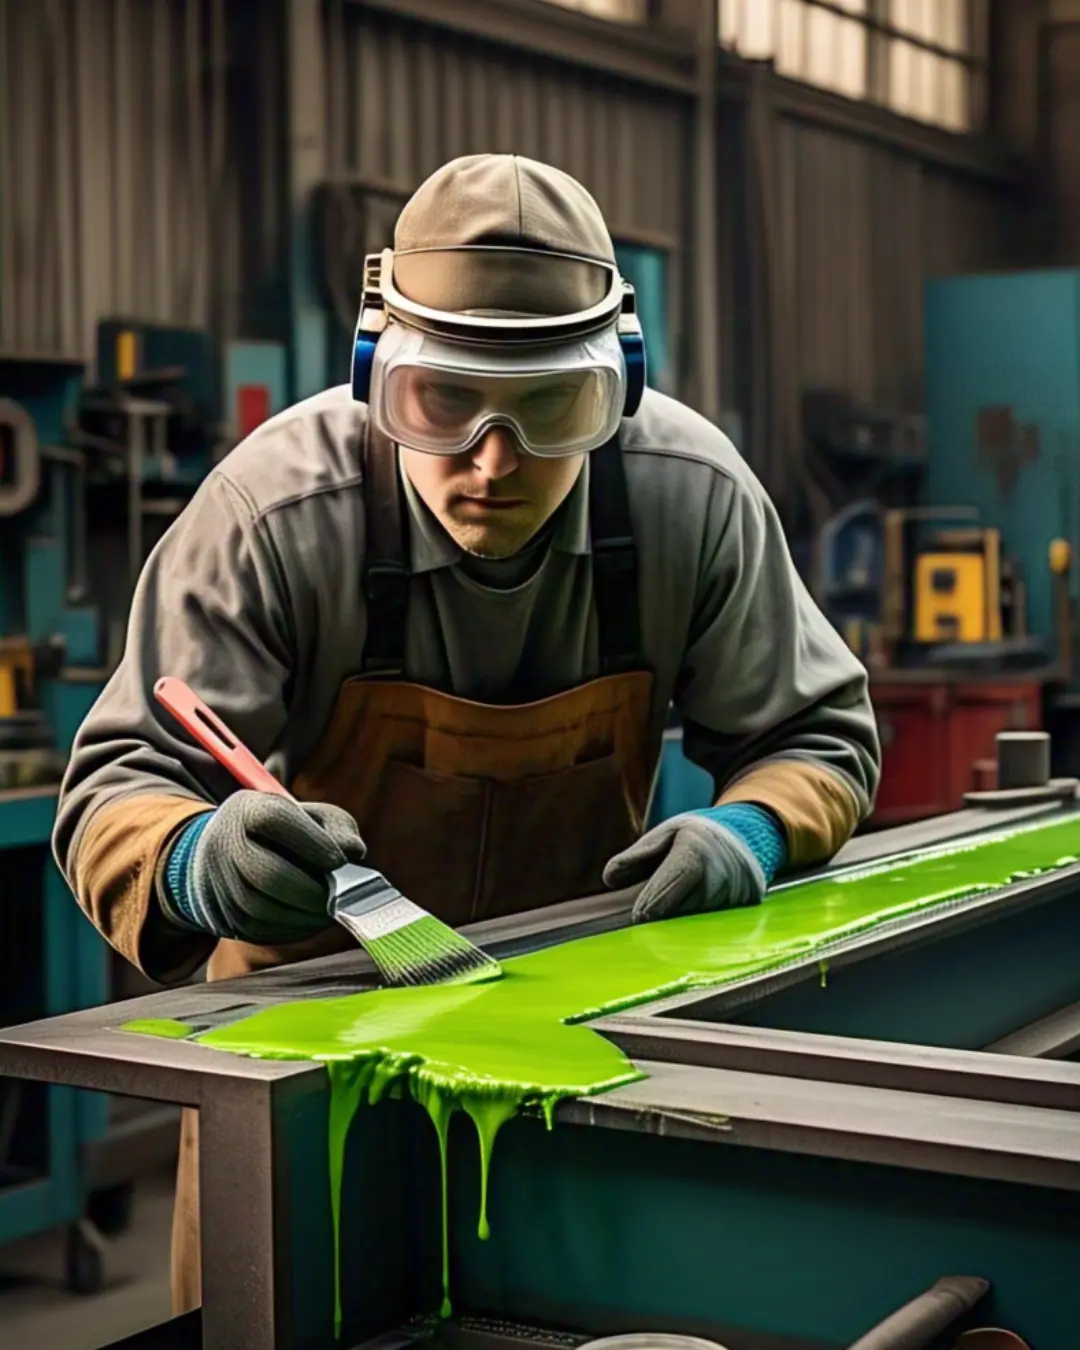
- The two pieces are dry-fit to check seam alignment (critical for patterns like marble).
- Epoxy adhesive (color-matched to the slab) bonds the edges.
Step 4: Clamping & Curing
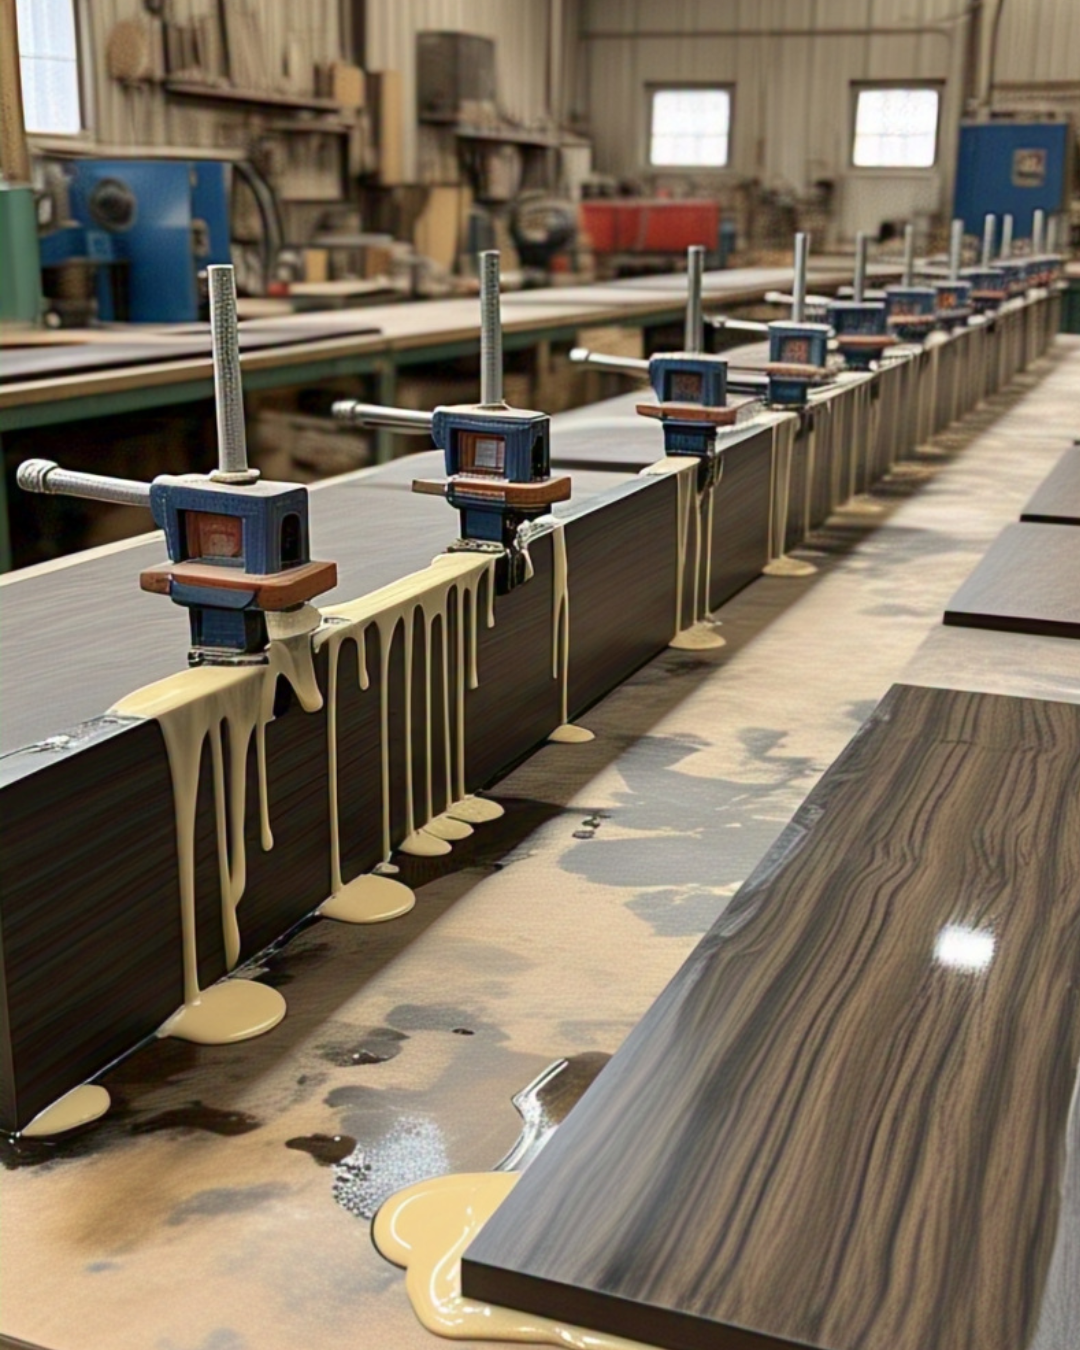
- Specialized clamps hold the joint for 24+ hours.
- Pro Trick: Tape protects the surface from clamp marks.
Step 5: Polishing
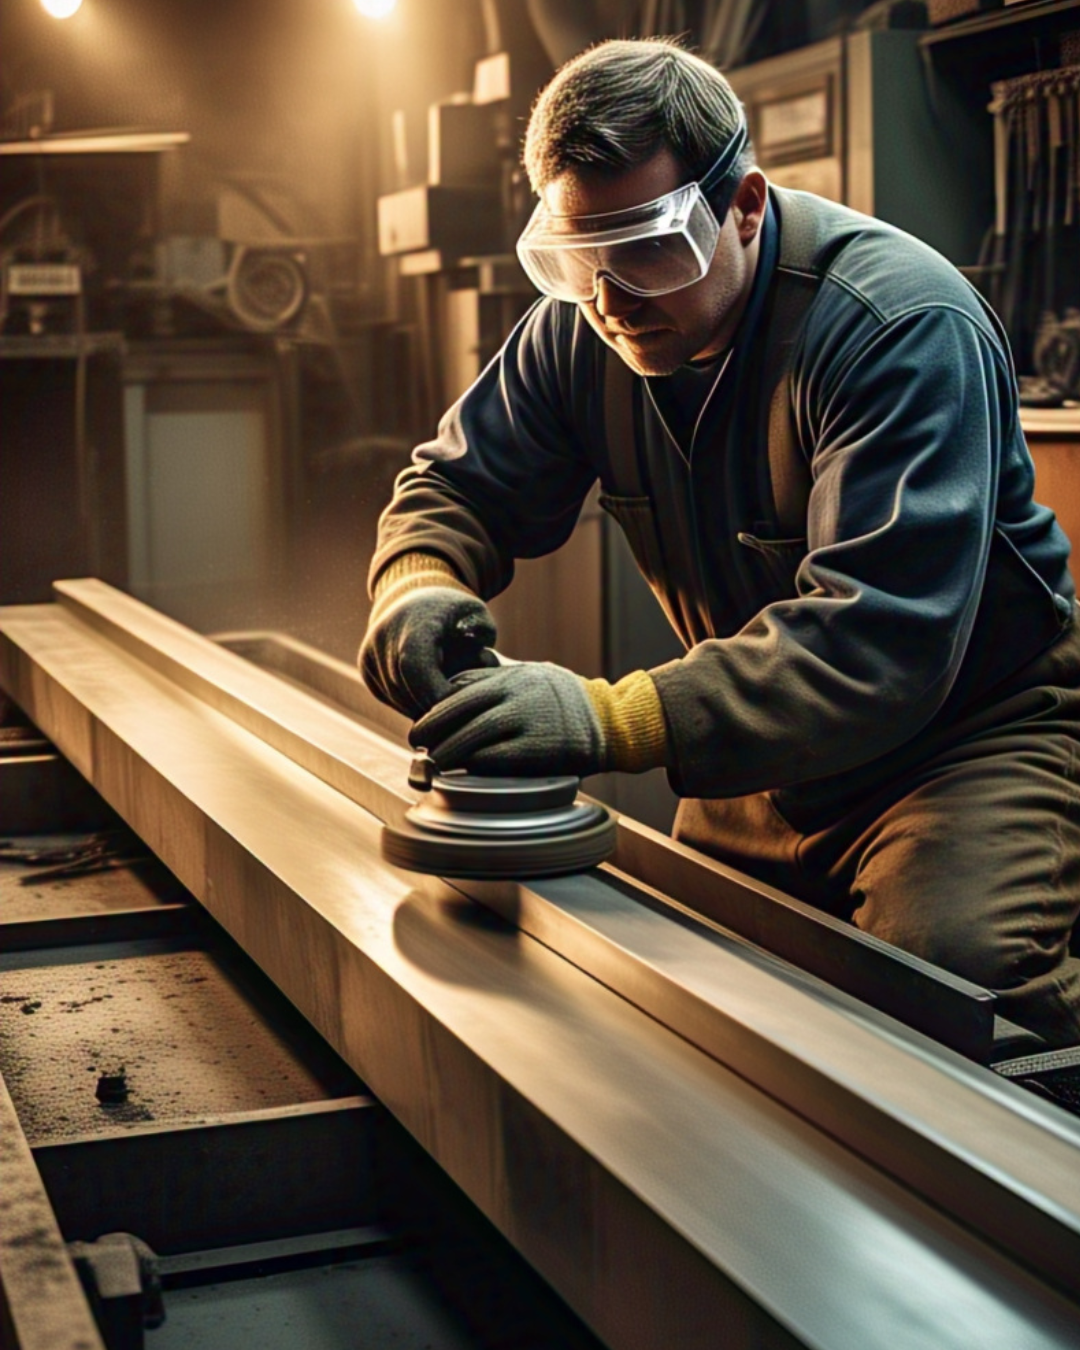
- The seam is sanded from coarse to fine grit (120 → 3,000) for invisibility.
- Final polish restores the glossy finish.
Step 6: Installation
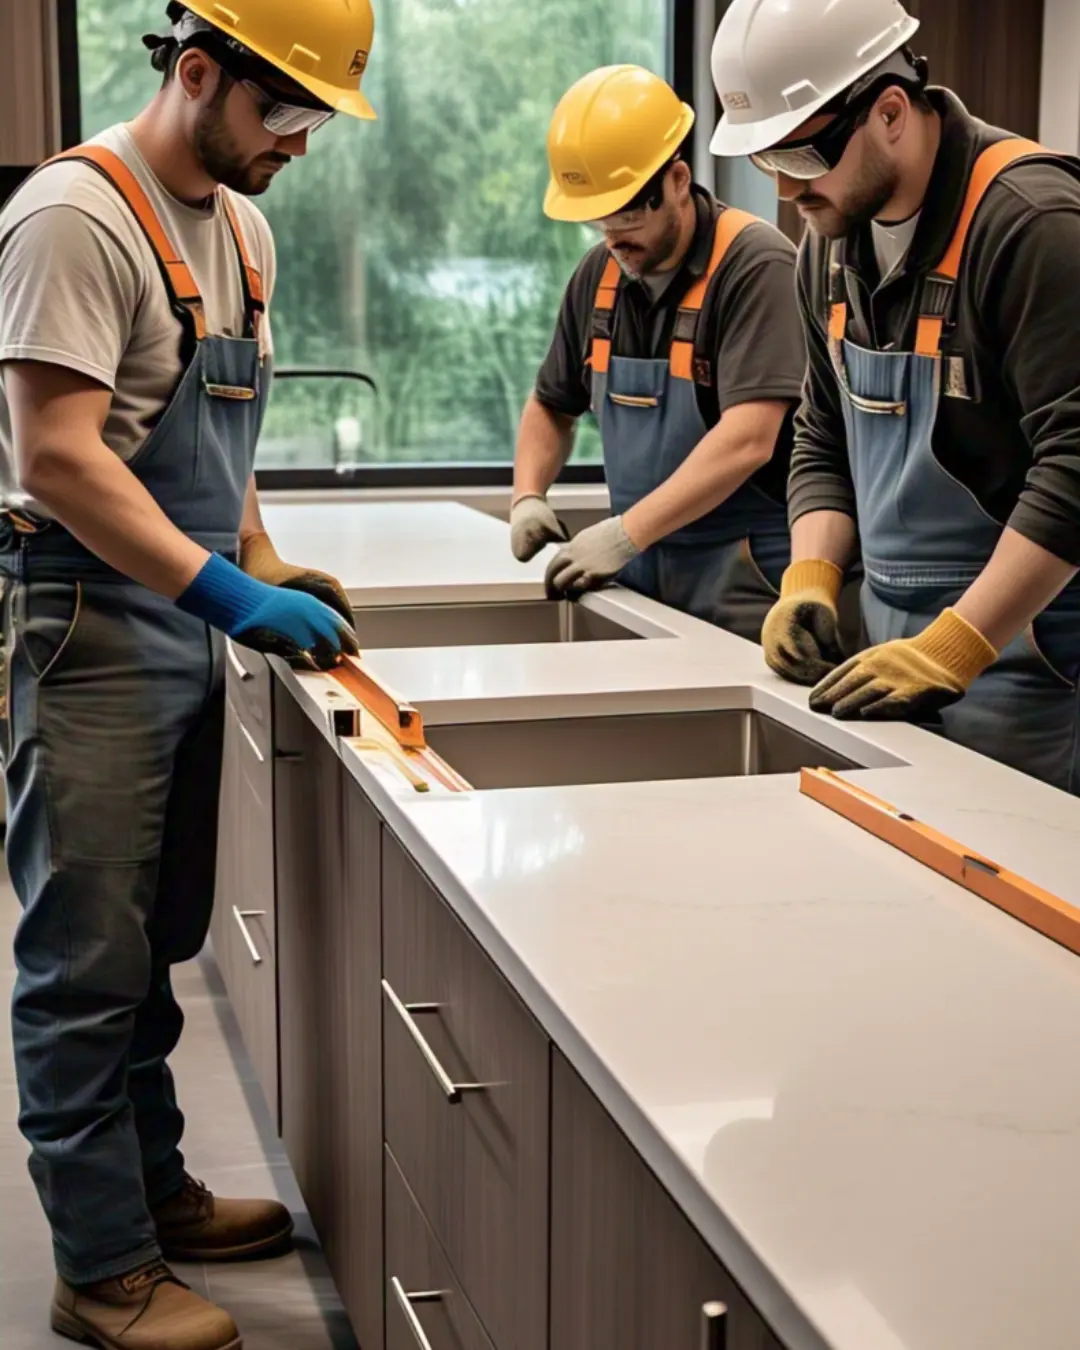
- Installed with leveling brackets to prevent stress on the joint.
- Critical: The base cabinets must be perfectly level.
⚠️ Why DIY Fails
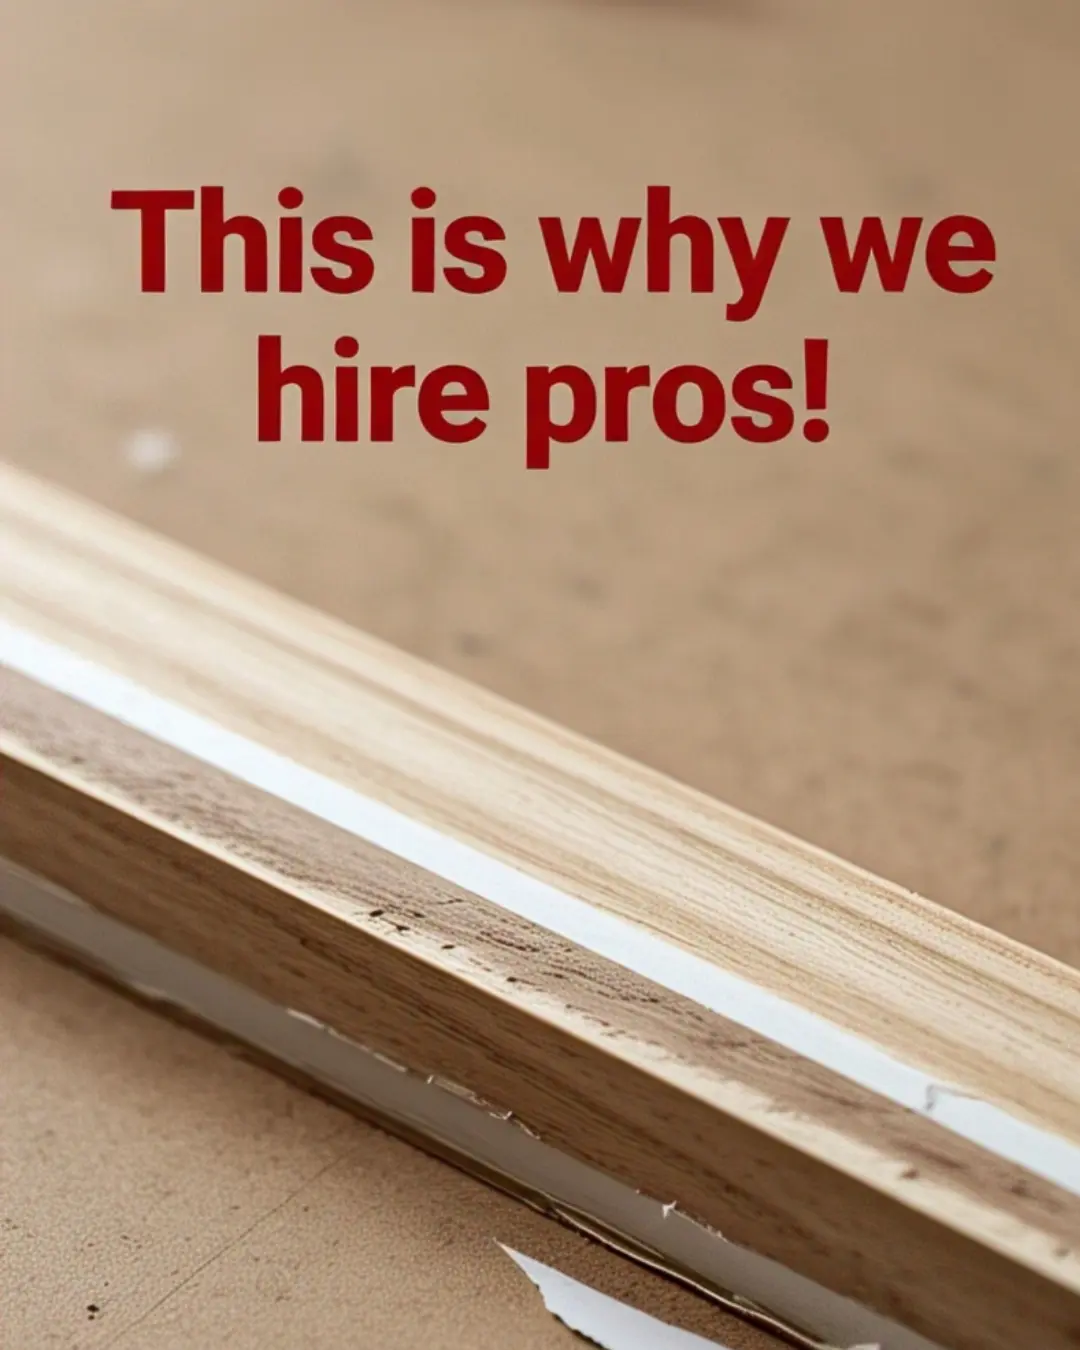
- 45° cuts require industrial tools (CNC saws + polishers)
- Seam mismatches are glaring (especially with veined stone)
- Weight: Full slabs need professional handling
Pro Tip:
“A perfect mitered edge should look like a magic trick—no visible seams, just ‘How’d they do that?!’”
Mitered Edge vs Regular Edge: What’s the Difference?
| Feature | Mitered Edge | Regular Edge |
|---|---|---|
| Thickness Look | Looks thicker (fancy!) | Just regular thickness |
| Seam Visibility | Nearly invisible | More visible sometimes |
| Style | Modern and sleek | Simple and classic |
| Price | A bit more expensive | Budget-friendly |
So, if you want the “wow” factor, mitered wins!
Mitered Edge Countertops for Kitchen Islands
Mitered edges shine brightest on kitchen islands. Why?
- They make your island look like a bold furniture piece.
- Adds depth and drama (in a good way).
- Great for waterfall edges (where the side flows down like a… well, waterfall!).
Perfect for showing off to guests — or just feeling fancy while making PB&J.
Best Materials for Mitered Edge Countertops
Mitered edges create a bold, seamless look, but not all materials can handle the precision 45° cuts. Here are the top choices that deliver flawless results:
Quartz (Engineered Stone) – Best Overall
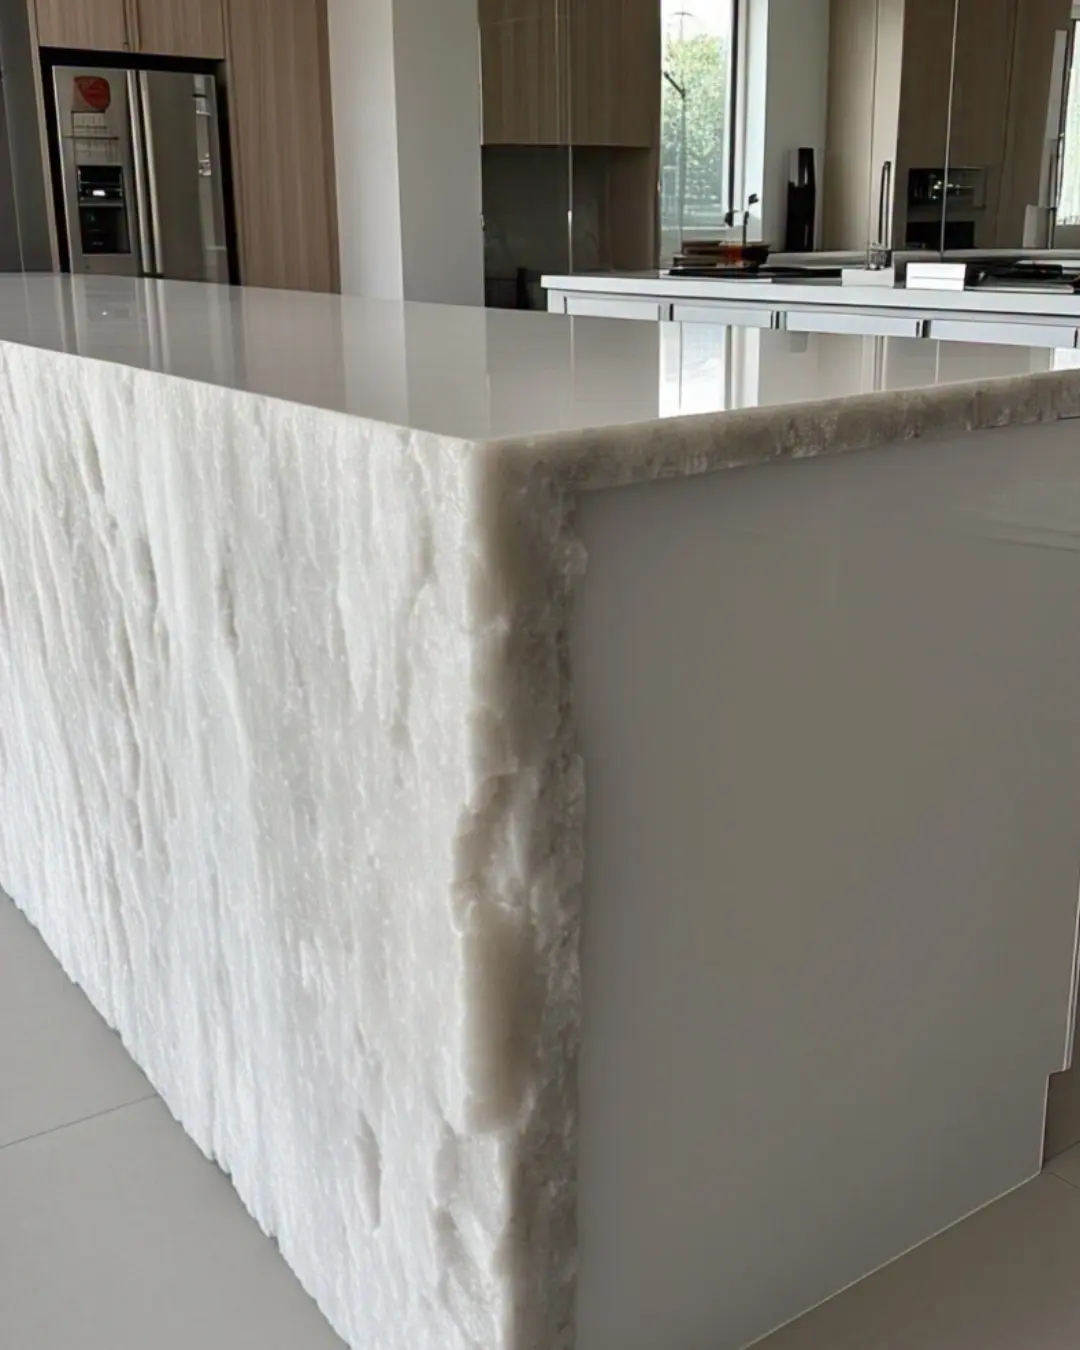
✔ Why?
- Non-porous (no sealing needed)
- Consistent color/pattern hides seams perfectly
- Durable against chips and scratches
⚠ Watch Out:
Not heat-resistant (use trivets!)
Heavy—requires professional installation
Marble: Luxe But Demanding
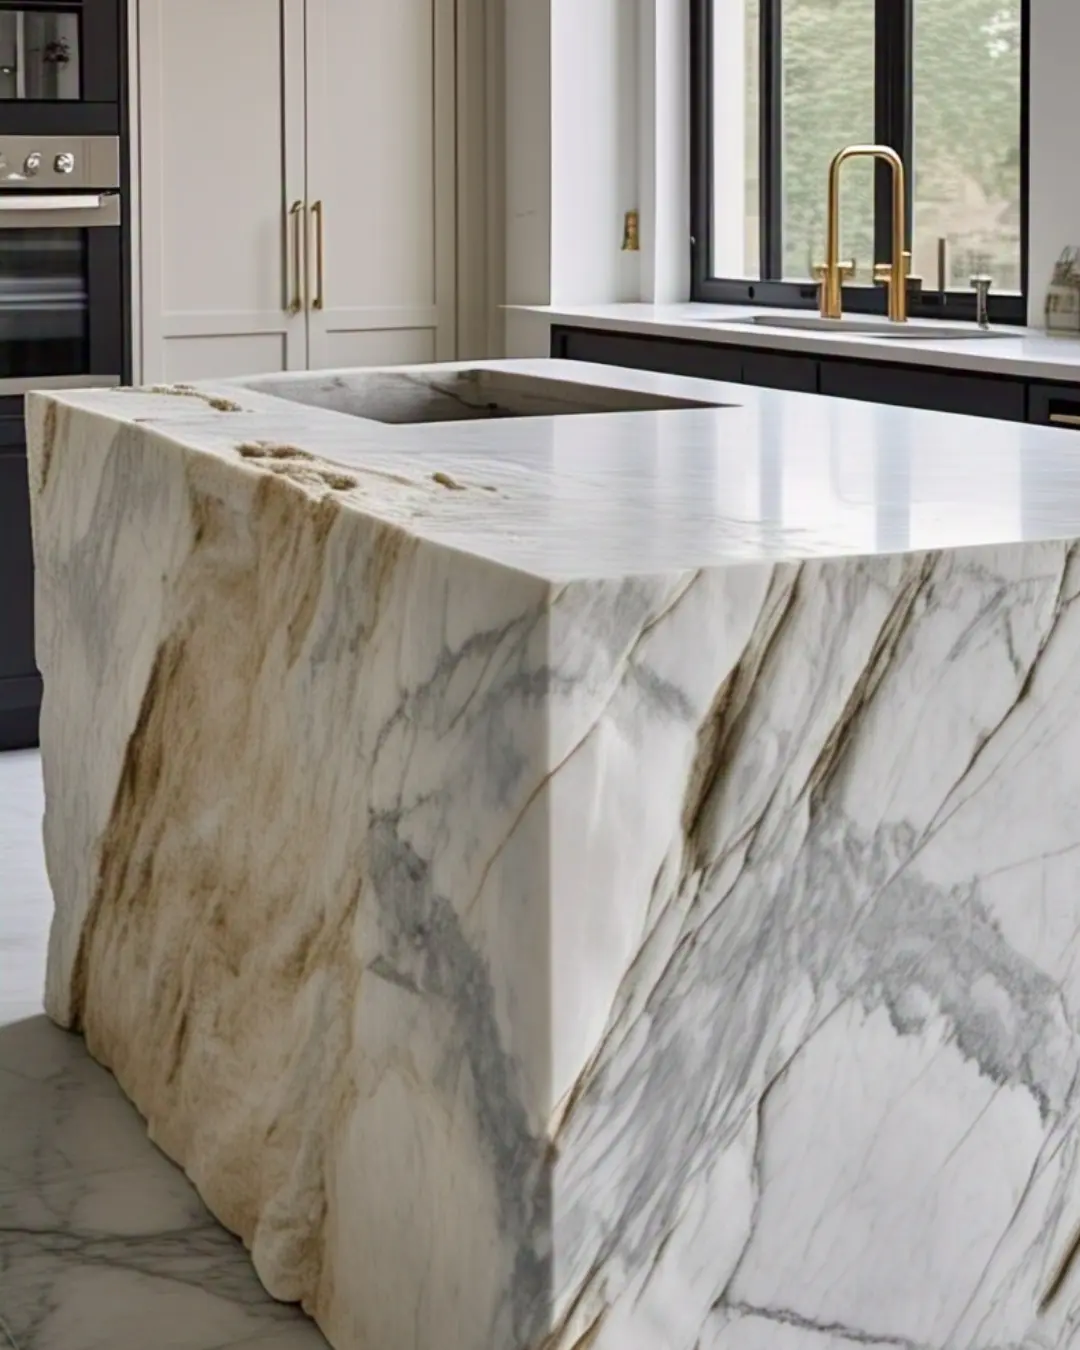
✔ Why Choose Marble?
- Vein Drama: No two slabs are alike—thick mitered edges amplify the natural artistry (imagine a painting with 3D depth!).
- Baking Bonus: Naturally heat-resistant (perfect for rolling pastry dough directly on the surface).
- Old-World Glam: The only choice for classic European-style kitchens.
⚠ Brutal Truths:
- Seam Struggle: Marble’s unpredictable veining makes matching seams harder than quartz (bookmatching is essential).
- Maintenance: Yearly sealing is non-negotiable (red wine = permanent stains if untreated).
- Soft Surface: Prone to etching (lemons, vinegar) and micro-scratches over time.
Granite – Natural Beauty
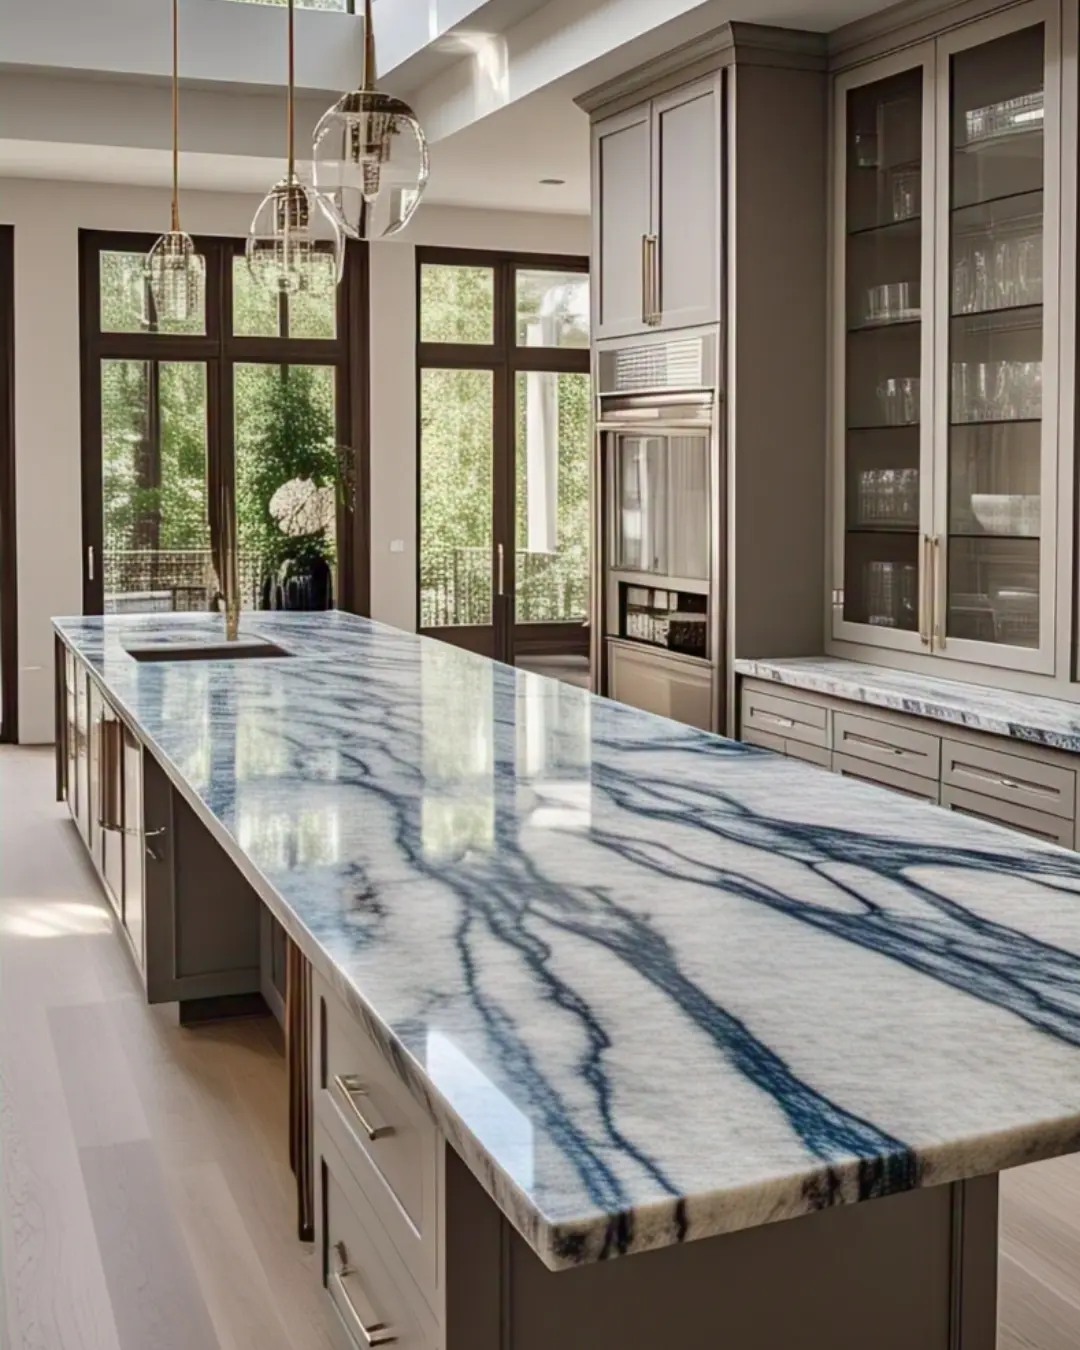
✔ Why?
- Unique veining looks stunning in thick edges
- Heat-resistant (perfect for bakers)
⚠ Watch Out:
- Needs yearly sealing
- Seams more visible than quartz
Materials to AVOID
🚫 Concrete – Prone to cracking at thin mitered joints
🚫 Butcher Block – Hard to seal at 45° angles
🚫 Marble – Soft edges chip easily
What is the standard Thickness for Mitered Countertops
Mitered edges create the illusion of thickness while using standard slabs. Here’s what you need to know:
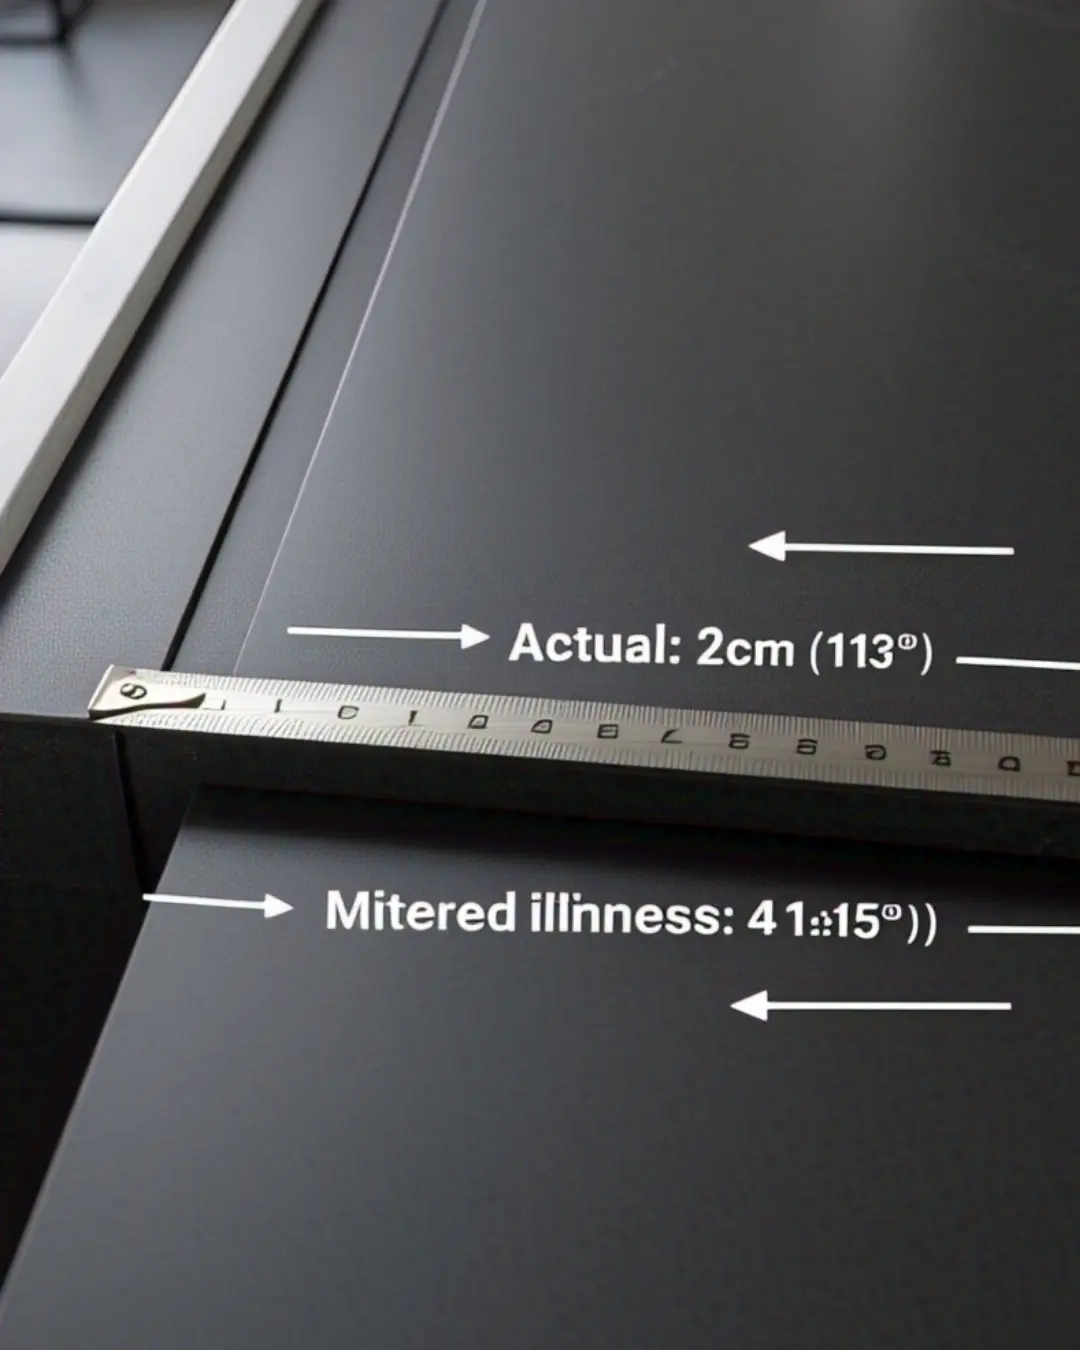
1. Actual Slab Thickness
- Most Common: 2 cm (~¾”) or 3 cm (~1¼”)
- Thinner Option: 1.2 cm (~½”) (usually laminated for stability)
- Thicker Luxury: 4 cm (~1½”) (rare, requires special order)
2. Finished Look After Mitering
- 2 cm slab → Looks like 4 cm (most popular)
- 3 cm slab → Looks like 6 cm (ultra-luxury)
Which Thickness Should You Choose?
| Slab Thickness | Mitered Look | Best For | Cost Impact |
|---|---|---|---|
| 1.2 cm | ~2.5 cm | Budget kitchens | +15% labor |
| 2 cm | ~4 cm | Most homes | +20-30% labor |
| 3 cm | ~6 cm | High-end designs | +40-50% labor |
Key Notes:
- Thinner slabs (1.2–2 cm) are laminated (glued to plywood) for stability.
- 3 cm slabs are solid but heavier (may need extra cabinet support).
- Waterfall edges? Go 3 cm for drama!
Pro Tips
✔ For quartz/granite: 2 cm → 4 cm is the sweet spot (durable + affordable).
✔ For porcelain: 1.2 cm → 2.5 cm (its strength allows thinner profiles).
🚫 Avoid mitering <1.2 cm slabs—too fragile!
What is the difference between a square edge and a mitered edge?
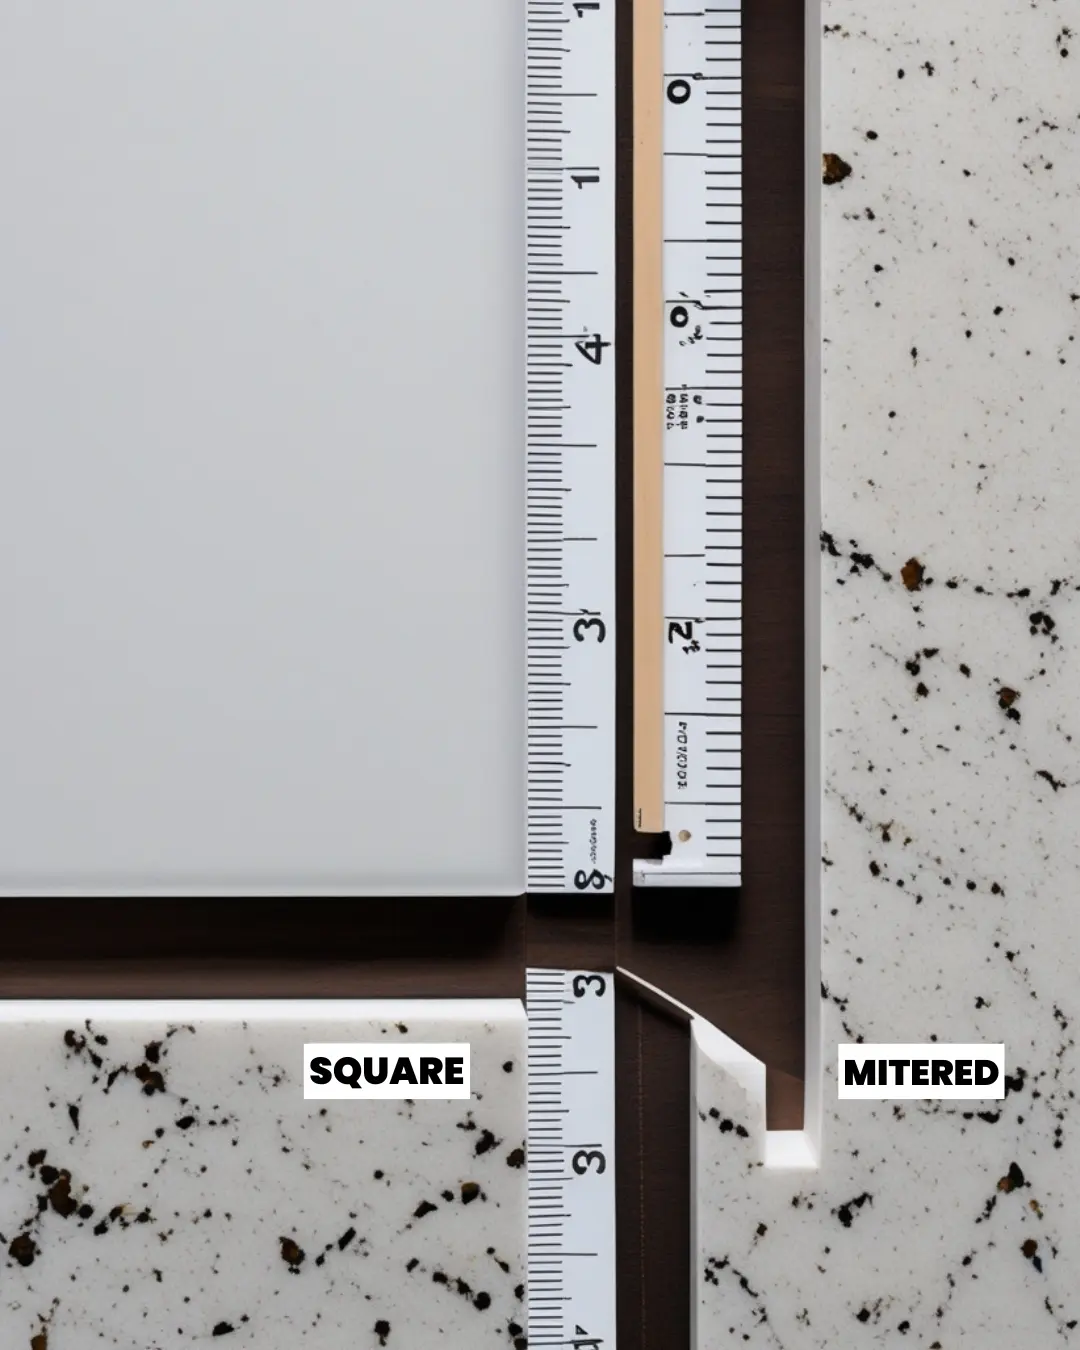
| Feature | Square Edge | Mitered Edge |
|---|---|---|
| Appearance | Sharp 90° corner, thin look | Thick, seamless “slab-like” illusion |
| Construction | Single slab, no joining | Two 45°-cut pieces joined for depth |
| Cost | Budget-friendly (standard cut) | 20-40% more (precision work required) |
| Style | Modern, minimalist | Luxe, high-end, or ultra-modern |
| Durability | Prone to chipping on thin edges | Reinforced corners resist damage |
| Best For | Laminate, basic projects | Quartz, granite, waterfall islands |
Mitered Edge Countertops in Modern Homes
Today’s homes love clean lines and simple, bold designs.
- Mitered edges fit perfectly with modern, minimal styles.
- They’re often paired with:
- Open shelves
- White or wood cabinets
- Statement lighting
It’s like giving your kitchen a sleek new haircut.
Mitered Edge Countertops: Pros & Cons
✅ Pros
- Luxury Look for Less
- Makes standard slabs appear 2X thicker (e.g., 2cm → 4cm illusion) without the cost of solid stone.
- Seamless Corners
- Perfect for waterfall islands—no visible seams when done right.
- Modern & Custom
- Sharp, clean lines elevate contemporary kitchens.
- Durable Corners
- Reinforced edges resist chipping better than thin square edges.
- Hides Imperfections
- Conceals uneven walls or cabinet gaps with its bold profile.
❌ Cons
- Expensive Fabrication
- Adds 20-40% to labor costs (precision cutting/polishing required).
- Not DIY-Friendly
- Requires CNC machines and pro installers—no room for error.
- Seam Visibility (On Some Materials)
- Marble/granite veins may not align perfectly at 45° joints.
- Heavy & Structural Needs
- Thick edges require reinforced cabinets (especially for waterfalls).
- Hard to Repair
- If the edge chips, the whole joint may need re-cutting.
How to Take Care of Your Mitered Edge Countertop?
Mitered edges look stunning but need gentle love to keep their seamless illusion intact. Here’s how to maintain them like a pro:
🛁 Daily Cleaning
✔ Use: Mild dish soap + warm water + microfiber cloth
✔ Why? Harsh cleaners degrade the polish/seams over time.
✔ Pro Tip: Wipe along the edge (not against it) to avoid snagging.
🚫 Avoid These!
- Abrasive Scrubbers (Steel wool = scratch city!)
- Acidic Cleaners (Vinegar, bleach—they dull the finish)
- Sitting/Standing on Edges (The joint isn’t load-bearing!)
- Dragging Heavy Pots (Sliding = seam stress)
🔧 Long-Term Care
✔ Reseal (If Natural Stone):
- Granite/marble: Every 1-2 years (test with water droplets)
- Use impregnating sealer (not wax!)
✔ Fix Minor Chips: - For quartz: Color-matched epoxy (pro-applied)
- For laminate: Edge-bonding glue
💡 Pro Tips
- Cutting Boards Are a Must (Protect the polished surface)
- Use Trivets (Even quartz can discolor under extreme heat)
- Rotate Decor (Avoid permanent sun-fading on one spot)
⚠️ Emergency Fixes
- Hairline Crack in Seam?
- Fill with clear epoxy before it spreads.
- Stubborn Stain?
- For stone: Baking soda paste (never bleach!)
- For quartz: Rubbing alcohol (test underside first)
DIY or Call a Pro?
Here’s the deal:
- If you’ve never glued two angled rocks together before… call a pro.
- DIY is possible but risky — one small mess-up, and you’ll cry over broken quartz.
Better safe than “oops.”
What is the Cost of Mitered Edge Countertops?
Mitered edges add 20–50% to standard countertop prices due to precision fabrication. Here’s what to expect:
💰 Material Costs (Per Sq Ft, Installed)
| Material | Standard Edge | + Mitered Edge | Why? |
|---|---|---|---|
| Quartz | $70–$120 | $90–$180 | Seamless joints need pro work |
| Granite | $60–$100 | $80–$150 | Heavy = extra labor |
| Porcelain | $80–$140 | $100–$200 | Ultra-thin = tricky cuts |
| Marble | $100–$200 | $130–$250 | Vein-matching ups cost |
| Laminate | $30–$60 | $50–$90 | Rarely recommended (seams show) |
Note: Waterfall edges (double miter) add another 15–30%.
📊 Additional Cost Factors
- Complexity
- Simple L-Shape: +$300–$800
- Waterfall Island: +$1,000–$3,000
- Location
- Urban areas (NYC, LA): +20% labor
- Rural: Cheaper but fewer fabricators
- Edges
- Single miter (one side): Standard upgrade
- Double miter (both sides): 2X labor
💡 How to Save
✔ Choose quartz over marble (easier seams, lower maintenance)
✔ Miter only the island (keep perimeter counters simple)
✔ Buy during off-season (Winter discounts!)
⚠️ Hidden Costs
- Template Fees: $150–$300 (for precise measurements)
- Seam Placement: $75–$150 per seam (extra for pattern-matching)
- Cabinet Reinforcing: $200–$500 (for heavy stone waterfalls)
Design Ideas to Try With Mitered Edges
- Waterfall edges on your island
- Floating countertops with no visible support
- Bold veined quartz that wraps around the edge
- Two-tone style — like wood and stone combo
It’s like accessorizing your kitchen — with countertop bling!
Final Thoughts on Choosing a Mitered Edge Countertop
So, is a mitered edge countertop right for you?
If you love style, want that “wow” look, and don’t mind paying a bit more, then yes, yes, yes!
It turns any kitchen into a showstopper. It’s bold, clean, and seriously cool.
FAQs About Mitered Edge Countertops
Is a mitered edge stronger than a regular edge?
Not really stronger, but it looks thicker. If done well, it holds up great.
Can I get a mitered edge on any material?
Most hard materials like quartz, granite, and marble work well. Softer ones? Not so much.
How long does it take to install a mitered edge?
A bit longer than regular edges — usually a few extra hours, maybe a day.
Do mitered edges stain more?
Nope! The edge itself doesn’t stain more — it depends on the material you pick.
Are Mitered Edge Countertops Child-Friendly?
Mitered edges are child-friendly (no sharp corners), but crumbs can get stuck in seams, and natural stone stains easily—opt for quartz for the best durability.
Also, don’t forget to update your home with house making ideas. Let us make your home look beautiful.
