A kitchen island is a versatile centerpiece that can enhance both the functionality and aesthetics of your kitchen.
However, getting the right kitchen island dimensions is crucial to ensure it fits seamlessly into your space while fulfilling its purpose, whether that’s meal prep, additional seating, or storage.
In this guide, we’ll break down the key factors to consider when planning your kitchen island dimensions, so you can design an island that meets your needs and complements your kitchen layout.
- 1. Standard Kitchen Island Dimensions
- 2. Clearance & Spacing: Avoiding a Cramped Kitchen
- 3. Seating & Dining: How to Plan for Comfort
- 4. Customizing Your Island for Functionality
- 5. Designing for Different Kitchen Layouts
- 6. Special Features and Their Space Needs
- 7. Maximizing Storage in Your Kitchen Island
- 8. Ensuring Proper Lighting Above Your Kitchen Island
- 9. Avoiding Common Mistakes
- 10. How to Plan Your Perfect Island: A Step-by-Step Process
- 11. Real-World Examples
- Conclusion:
1. Standard Kitchen Island Dimensions
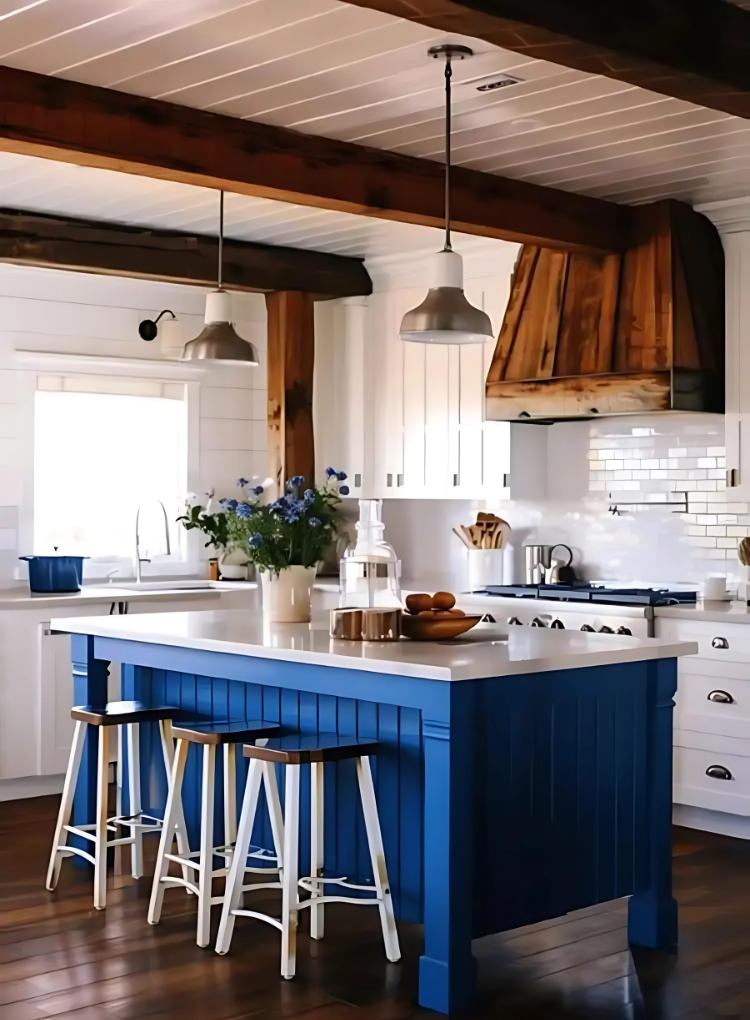
Before diving into customizations, it’s important to know the standard kitchen island size. Most kitchen islands fall within a general range, though variations occur based on your kitchen’s size and layout.
Width (Depth)
- Minimum: 24 inches (for slim prep spaces or extra storage).
- Standard: 36–42 inches (comfortable for meal prep and appliances).
- Large Islands: Up to 48 inches (ideal for sinks, cooktops, or extra workspace).
Length
- Small Kitchens: 36–48 inches (fits basic prep needs).
- Medium to Large Kitchens: 60–84 inches (allows seating, storage, and appliances).
- Oversized Islands (Open Floor Plans): Up to 10+ feet (for dining, entertaining, and multi-functional use).
Height
- Standard Counter Height: 36 inches (matches most kitchen counters).
- Bar-Height Islands: 42 inches (paired with 30-inch bar stools).
- Multi-Level Islands: Combines 36″ (prep zone) and 42″ (breakfast bar).
While these dimensions work for most kitchens, your space and needs may require something more tailored.
Also Read: Discover 19 Kitchen Island Designs That Combine Style and Practicality!
2. Clearance & Spacing: Avoiding a Cramped Kitchen
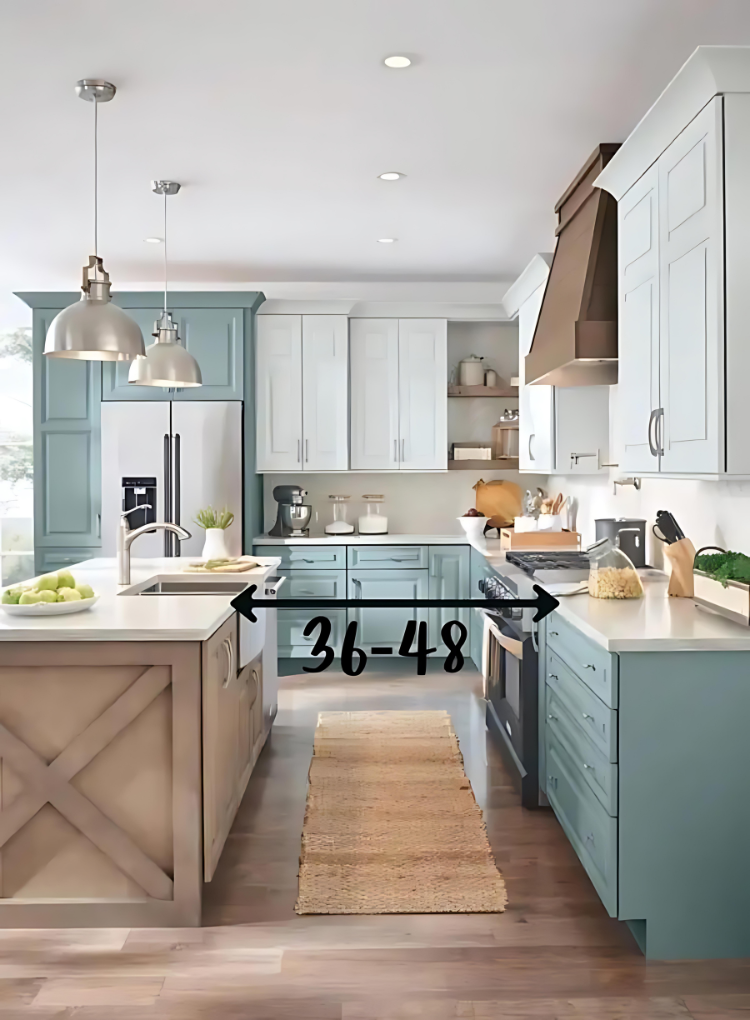
One of the most important aspects of planning a kitchen island is the space around the kitchen island. You need enough clearance between the island and surrounding countertops or appliances to move freely.
Walkway Space Around the Island
- Minimum: 36 inches (for one cook).
- Recommended: 42–48 inches (comfortable for multiple people and opening appliances).
- High-Traffic Areas (near fridge/oven): 48+ inches (prevents bottlenecks).
Island Placement Guidelines
- Between Island and Counter: At least 42 inches (allows cabinet doors/drawers to open).
- In a Work Triangle (sink-stove-fridge): Keep the island from blocking movement.
Proper clearance ensures that your island enhances the flow of the kitchen rather than creating congestion.
Also Read: 19 stunning Kitchen Island Design for Small Space
3. Seating & Dining: How to Plan for Comfort
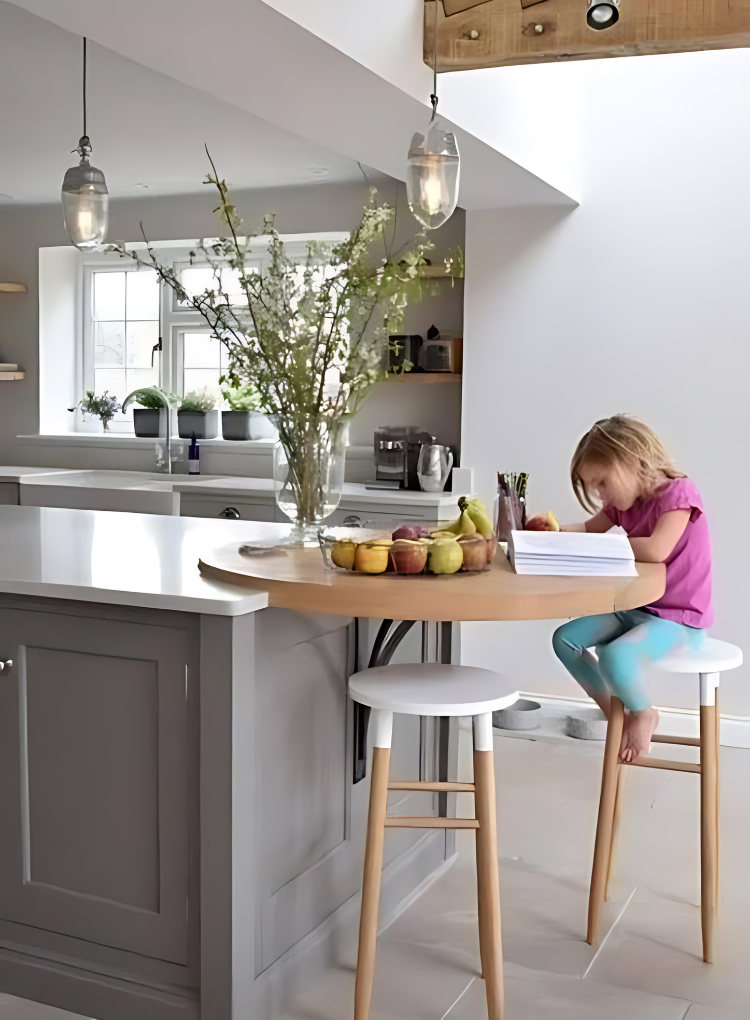
Before finalizing your kitchen island dimensions, it’s essential to determine what you’ll use it for. Kitchen islands can serve multiple purposes, and your design should reflect your priorities.
Stool Spacing
- Per Seat: 24–30 inches of width per person.
- Overhang Needed:
- For Legroom: 12 inches (minimal).
- Comfortable Dining: 15–18 inches (ideal).
Types of Seating Arrangements
| Island Size | Seating Capacity | Best For |
|---|---|---|
| 4 ft (48″) | 2 stools | Small kitchens, quick meals |
| 6 ft (72″) | 3–4 stools | Family breakfasts, casual dining |
| 8 ft (96″) | 5–6 stools | Entertaining, large families |
Understanding the primary function of your island will guide both the dimensions and layout.
Also Read: 19 Budget-Friendly Kitchen Island Designs Against the Wall That Look Expensive!
4. Customizing Your Island for Functionality
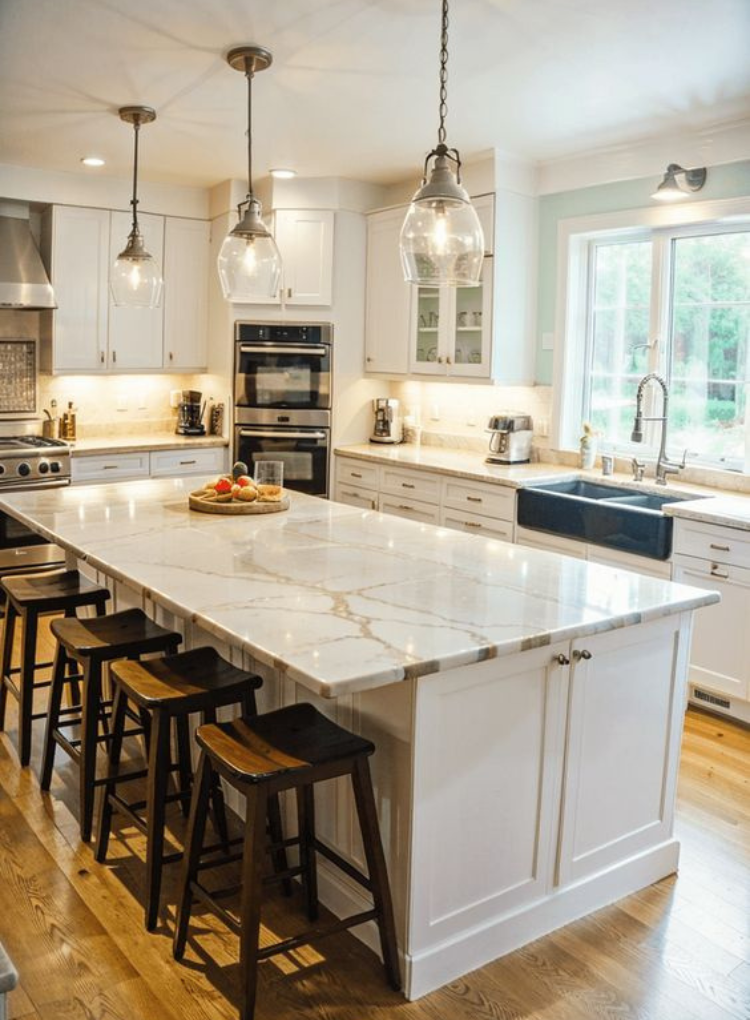
While the standard island height is 36 inches, this might not be ideal for every function. For instance, a lower or higher surface could be more suitable depending on your specific needs.
Small Kitchens (Galley or L-Shaped Layouts)
- Solution: A narrow, movable island (24–30″ deep) or a butcher block cart.
- Avoid: Overcrowding—ensure at least 36″ of walking space.
Open-Concept Kitchens
- Go Bigger: 7–10 ft islands with built-in storage, sinks, or cooktops.
- Multi-Level Design: Combines prep space (36″) with bar seating (42″).
Islands with Appliances
- Sink or Cooktop: Requires deeper islands (42–48″) for plumbing/ventilation.
- Dishwasher/Microwave: Plan for extra cabinetry depth (24–30″).
By adjusting the height, you can ensure your island is multifunctional and meets your kitchen’s needs.
5. Designing for Different Kitchen Layouts
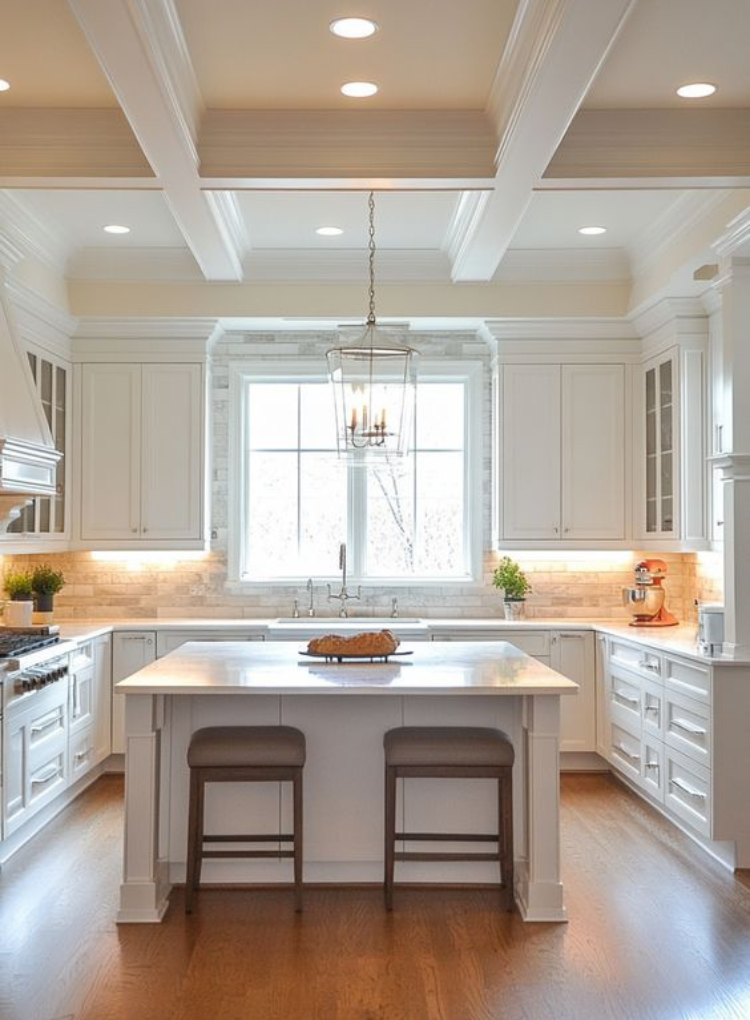
The shape and layout of your kitchen island will also impact its dimensions. While rectangular kitchen islands are the most common, other shapes may be more suitable based on your kitchen layout.
Galley Kitchens
- Opt for narrow, movable islands (24-30″ deep)
- Consider a butcher block cart that can be stored when not in use
- Ensure at least 42″ between parallel counters
L-Shaped Kitchens
- Place the island to complete a “U” shape
- 36-42″ depth works well
- Maintain open ends for traffic flow
Open-Concept Spaces
- Go big with 7-10 foot islands
- Incorporate multiple functions (prep, dining, storage)
- Consider two-tier designs to define spaces
Choosing the right shape will ensure that your island enhances both the aesthetics and functionality of the kitchen.
6. Special Features and Their Space Needs
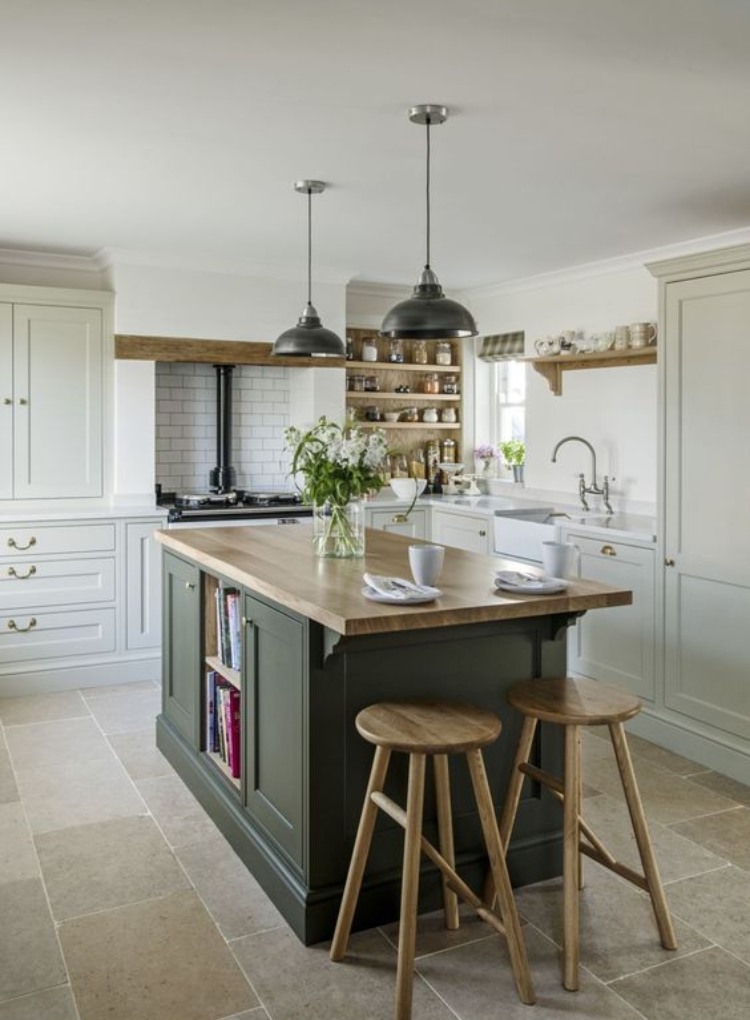
If you plan to include appliances in your kitchen island, this will affect the dimensions and layout. Built-in appliances can significantly increase the utility of your island, but they also require thoughtful planning.
Appliances in the Islands
- Sinks: Require 36″ width minimum, plus plumbing space
- Cooktops: Need 30″ clearance behind, 15″ beside
- Dishwashers: Require 24″ width and door clearance
Storage Solutions
- Drawers: Need 21-24″ depth
- Cabinets: Standard 24″ depth
- Open Shelving: Allow 12″ depth for accessibility
Specialty Features
- Wine coolers: Require 24″ width
- Microwave drawers: Need 24″ width
- Trash/recycling centers: 15-18″ width per bin
Integrating appliances into your island can make your kitchen more efficient, but it also requires additional space and planning.
7. Maximizing Storage in Your Kitchen Island
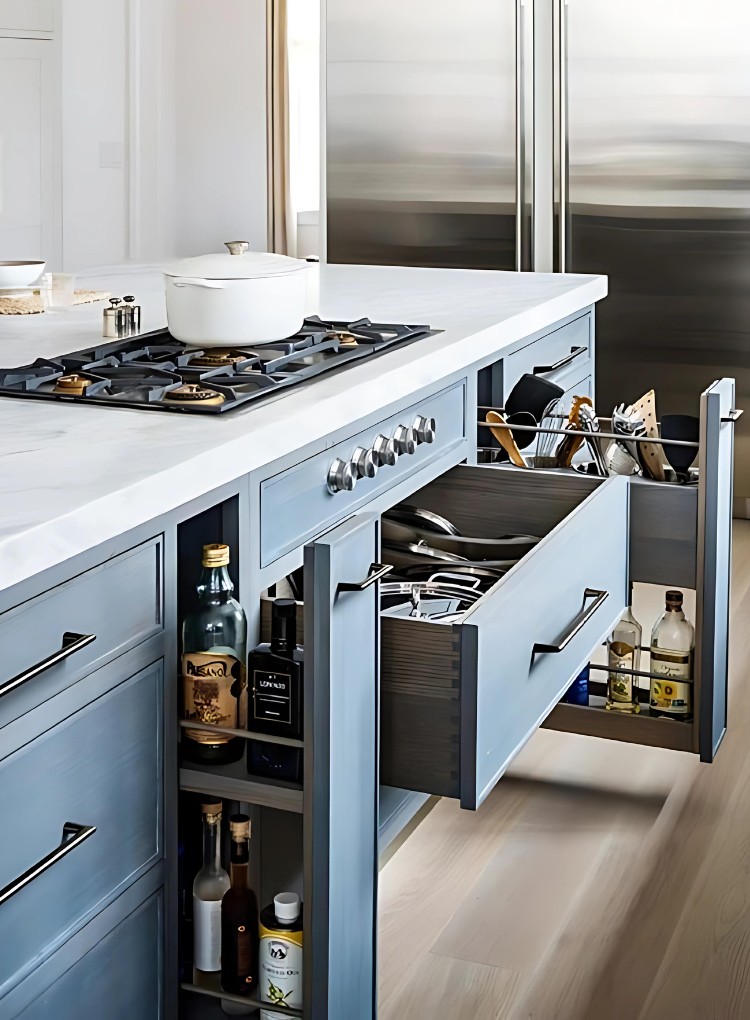
Storage is one of the key reasons to add a kitchen island, and getting the right dimensions can help maximize storage space without overcrowding the kitchen.
Your island can be a storage superstar! Try:
- Deep drawers for pots and pans
- Pull-out shelves for spices and baking sheets
- Hidden trash bins to keep things tidy
- Open shelves for pretty, everyday items
Pro tip: Use the toe-kick space for slim drawers—perfect for cutting boards!
8. Ensuring Proper Lighting Above Your Kitchen Island
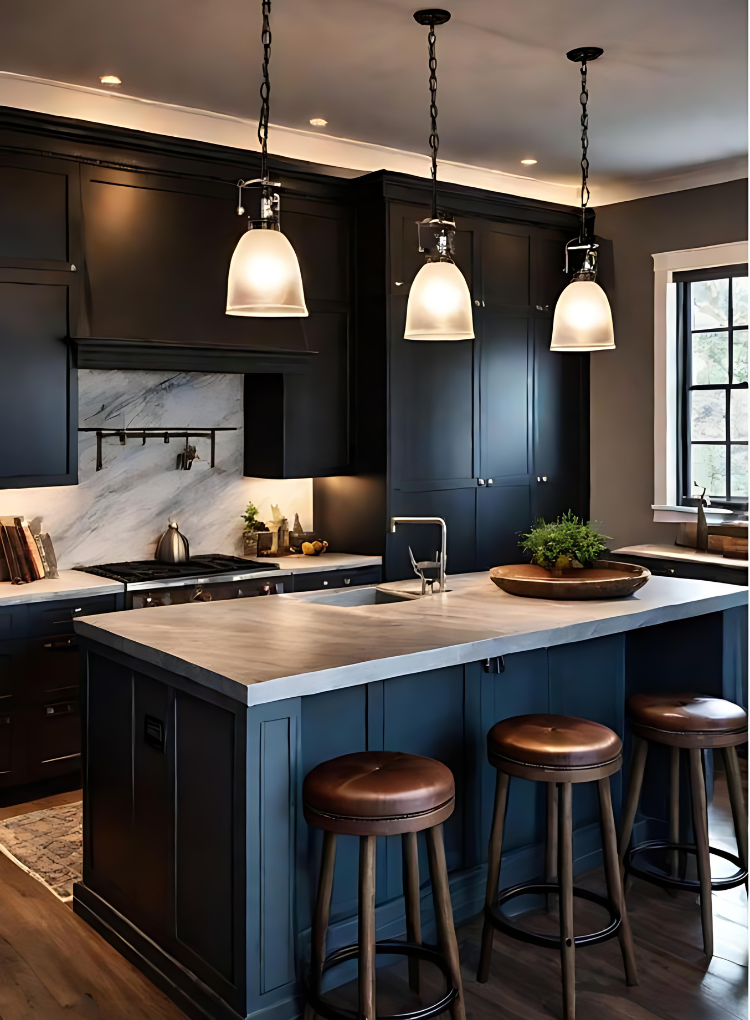
Lighting is an often-overlooked factor when designing a kitchen island. Proper lighting not only adds ambiance but also ensures that the island is well-lit for cooking, dining, or entertaining.
- Pendants? Hang 2-3, 30-36″ apart, 30-36″ above the counter
- Long Island? Try a linear chandelier
- Brightness: Warm (2700K) for cozy meals, cool (4000K) for food prep
- Dimmer switch: For instance, ambiance control
Bonus: Pick pendant sizes that match your island—12-15″ for small islands, 18-24″ for big ones.
9. Avoiding Common Mistakes
- The Traffic Jam Island
- Symptom: Less than 36″ clearance
- Fix: Reduce island size or reconfigure layout
- The Useless Peninsula
- Symptom: Island blocks more space than it adds
- Fix: Convert to a proper island or remove
- The Awkward Height
- Symptom: Mismatched counters causing workflow issues
- Fix: Standardize heights or create intentional tiering
- The Storage Fail
- Symptom: Beautiful island with no function
- Fix: Incorporate drawers, shelves, or appliances
10. How to Plan Your Perfect Island: A Step-by-Step Process
- Measure Your Kitchen
- Create a scaled drawing
- Mark all existing appliances and doors
- Determine Primary Function
- Prep space? Storage? Seating? All three?
- Prioritize based on your cooking style
- Calculate Clearances
- Start with a 36″ minimum around the perimeter
- Add extra near appliances
- Mock It Up
- Use painter’s tape on the floor
- Test movement with family members
- Finalize Dimensions
- Choose the width based on the function
- Set length based on available space
- Determine height(s) for ergonomics
11. Real-World Examples
The Entertainer’s Island
- Dimensions: 96″ x 48″
- Features:
- 36″ prep area with sink
- 42″ bar seating for 4
- Wine cooler and storage
- Clearance: 48″ all around
The Family Workhorse
- Dimensions: 72″ x 36″
- Features:
- Standard height for baking
- Deep drawers for pots/pans
- Seating for 3 kids
- Clearance: 42″ minimum
The Small Space Solution
- Dimensions: 48″ x 24″
- Features:
- Butcher block top
- Locking wheels
- Open shelving
- Clearance: 36″ when in use
Conclusion:
A well-proportioned kitchen island improves functionality, storage, and social interaction. By following these size guidelines, spacing rules, and design tips, you can create an island that fits seamlessly into your kitchen, whether it’s a cozy galley or a sprawling open-concept space.
Need help visualizing? Sketch your layout or consult a kitchen designer to ensure the perfect fit!
Also, don’t forget to update your home with house making ideas. Let us make your home look beautiful.
