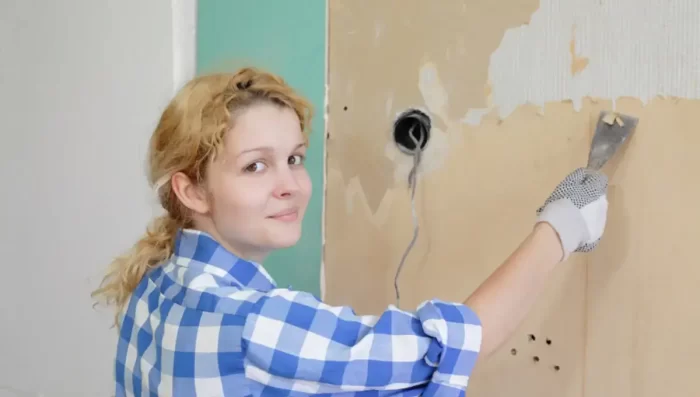
Are you planning to paint your old wall and looking for some ways how to paint the old wall? If you have no idea what to do? This article can help you.
It might appear that painting your walls is the most basic home improvement project, one that amateurs can complete just as easily as professionals.
Even if you’re a little intimidated by the thought of painting your walls, the potential cost savings from doing it yourself might encourage you to give it a shot.
While interior painting does not require the same level of competence as more skilled occupations like electrical or plumbing, not all aspects of painting are immediately visible. The main thing to keep in mind is to take your time.
It’s possible that your first painted wall won’t be precisely smooth. While you should be realistic about that, you should also be aware that you may produce work of a professional standard in your house with proper planning and practice.
Professional painters have developed specific processes over the years that help them do their work more quickly, more attractively, and with less mess.
You may produce a beautiful wall paint job by using the techniques used by professional painters and secret tips. Let’s start now.
Required Tools
1. Paint roller
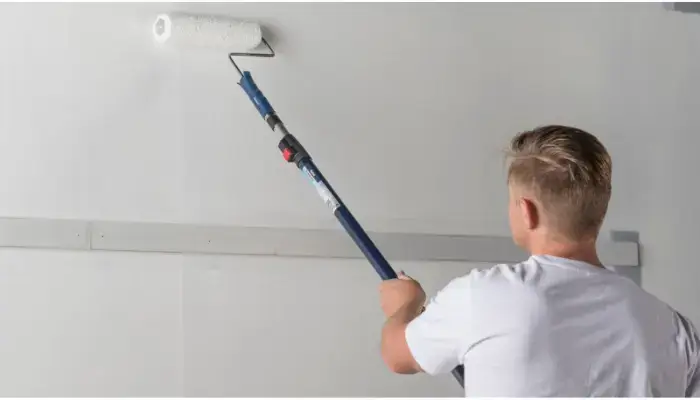
A paint roller is a tool for applying paint that is used to quickly and effectively paint big, flat surfaces.
In most cases, a “roller frame” and a “roller cover” are the two pieces that make up a paint roller. The roller frame is attached to the roller cover, which absorbs the paint and transfers it to the painted surface.
The handle portion of the roller is held by the painter. The rolling frame can be used again. A roller cover can be cleaned and reused, however, it is also frequently thrown away after usage.
The cylindrical core of the roller cover is covered in a pile of fabric that is fastened to the core. Rollers made of foam rubber are also made. In order to replace worn-out rollers, both foam and fabric rollers are independently available (without a handle).
Once an old roller is removed, the new roller can be attached to the handle part and used. The cylindrical core’s innovation has made it possible for the paint to be contained inside; as the roller is rolled, the cover absorbs paint from the interior and filters it through so that it may be applied externally.
2. roller extension pole
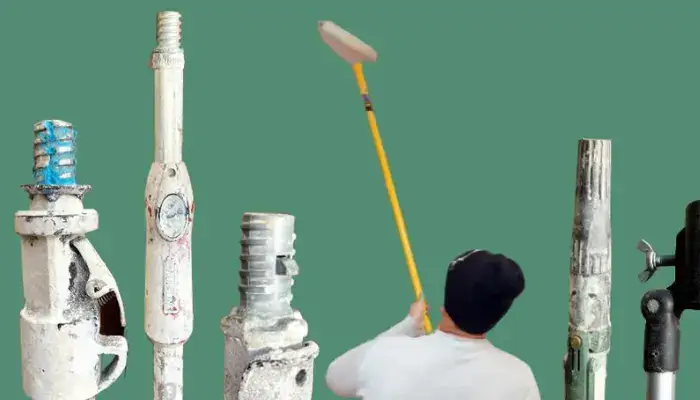
By extending the height of your roller, a paint roller extension pole enables you to paint lofty walls and ceilings without the need for a ladder or constant bending over. They come in incredibly helpful.
3. sandpaper
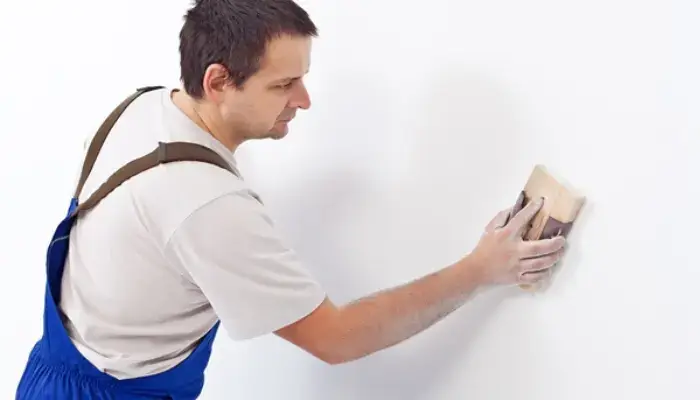
A type of coated abrasive that comprises sheets of paper or cloth with abrasive material attached to one face goes by the names of sandpaper and glass paper.
Before rolling on paint, sand your walls for a smooth surface. Bumps, roller lint, and other debris from prior paint treatments are removed by sanding.
Use an 80- or 100-grit drywall sanding paper with a drywall sanding pole for optimal results. A handheld sanding block can also be used, but it will take longer.
4. Paint Scraper
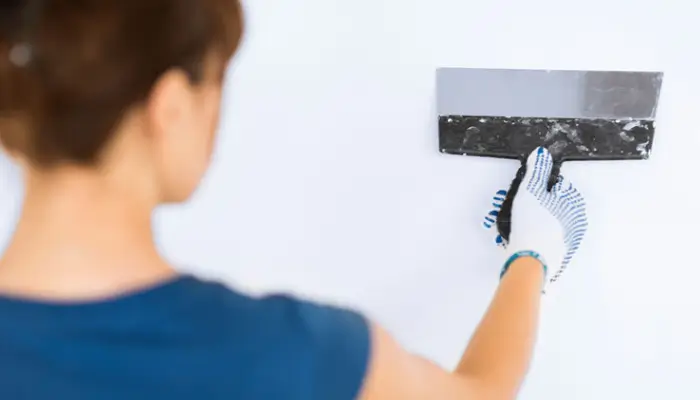
Any tool that is used to scrape or abrade paint off of a solid surface is a paint scraper. Most people who paint, finish, or repair their homes frequently have a preferred paint scraper, some of which are more unconventional than others.
Taking off the wall’s old paint A great solution is to use a paint scraper. A scraper may be used to simply remove many paints, many corners, and many pounds of wall pressure, as well as to make a variety of other activities simple and comfortable for you.
This image shows how a scraper can also be used to prime the wall. The old wall’s gaps and holes have been filled with hundreds of used scrapers.
5. Safety Gear
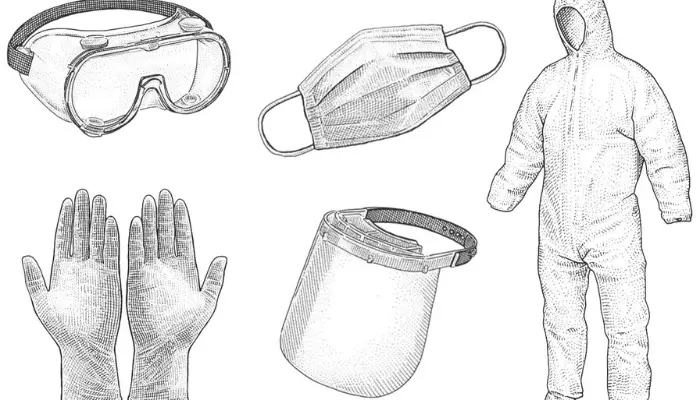
Personal protective equipment, commonly referred to as “PPE”, is equipment worn to minimize exposure to hazards that cause serious workplace injuries and illnesses. These injuries and illnesses may result from contact with chemical, radiological, physical, electrical, mechanical, or other workplace hazards.
Required Materials
- Wall primer: an even, smooth surface is provided by a wall primer so that paint may be applied on top. The durability and duration of the paint coat are improved by using a wall primer, which also aids in the paint’s better adhesion to the wall.
- Wall putty: Wall putty is actually a fine white cement powder that is combined with water and other chemicals to form a solution that is applied to the wall. If the solution is applied correctly, it fills the wall’s defects and gaps to provide an even base for your paint.
- Wall paint: A liquid material is a paint. It dries to a beautiful finish. The liquid undergoes a difficult procedure to become thick, which facilitates the application process. Paint is made up of four different ingredients: pigment, solvent, additives, and resin.
let us start with how to paint the old wall. step by step
1. decide and plan

Make your plan before considering how to paint a wall yourself. If painting your walls is on your to-do list, you definitely have some home decor inspiration in mind. Consider how you can make them a reality. What color will you choose for your home?
Will the four walls be uniform in appearance or will one be an accent wall? What style do you want for the accent wall? Blocks of color or striking patterns? Do you like a matte, metallic, or glossy finish? Before you start rolling up your sleeves, consider all of these factors.
2. get ready
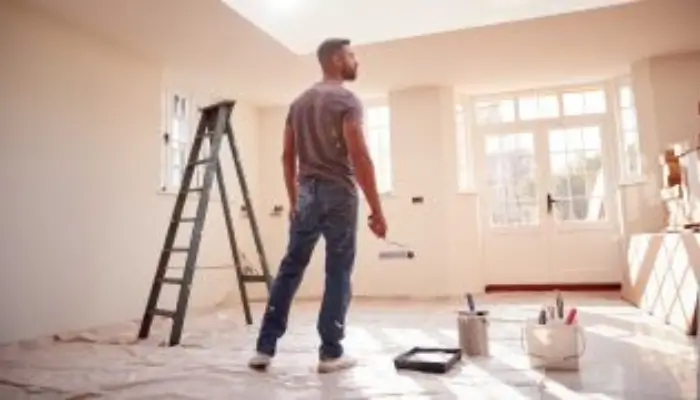
Get all the necessary supplies ready once you have your action plan set. Before beginning, gather everything you’ll need, including the suitable equipment and basic tools as well as the appropriate amount of home paint color.
Missing something and remembering it when you are painting your house is a major NO-NO. Making a list of the items you’ll need far in advance is the greatest trick.
3. move the furniture
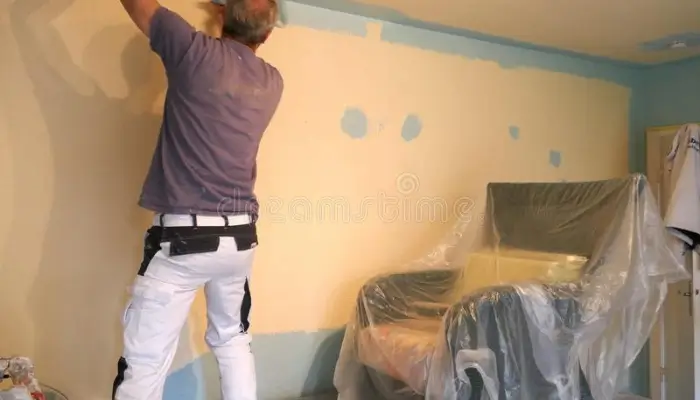
If you’re looking for advice on how to paint a wall, you should be aware that the process will be dirty. And it goes without saying that you don’t want the chaos to damage your priceless furniture and decorations.
Furniture, appliances, and other items in your room must be carefully protected to prevent stains from household paint. To paint without any obstructions, cover them with a cloth and relocate them to a different room.
4. taping and protect
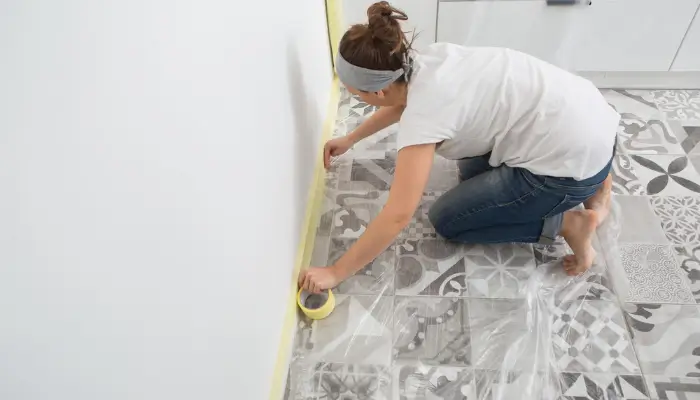
Cover everything you don’t want to be painted using painter’s tape. Protect the trim around windows and doors, as well as at the top and bottom of the wall.
Include everything you want to keep covered, including hardware, electrical boards and switches, doorknobs, ventilation trims, moldings, wall detailing, and anything else.
5. rubbing & scrape the wall
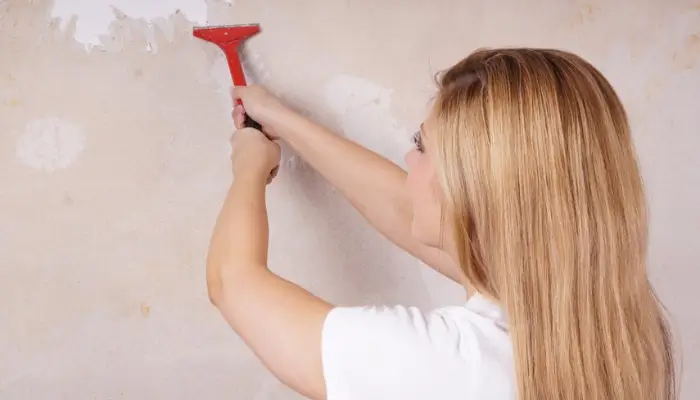
The old paint must first be prepared to be removed. In order to create a smooth and clean wall, we first remove the old paint with sandpaper and then paint or putty the wall.
You will eliminate any little bumps or air bubbles that will unavoidably have formed on the surface by doing this. Once everything is flawless, use a soft cloth to wipe off your piece of wall.
When painting a wall, a primer is not always necessary. This is especially true if the quality of the old paint is good and you’re repainting a wall the same color.
When the drywall paper is completely naked, you must always use a drywall primer. Instead of leaving the primer the customary stark white, professional painters frequently ask the paint retailer to per-tint it to make it more resemble the planned wall color. As a result, fewer coats of colorful paint are required.
6. fill all hole & cracks
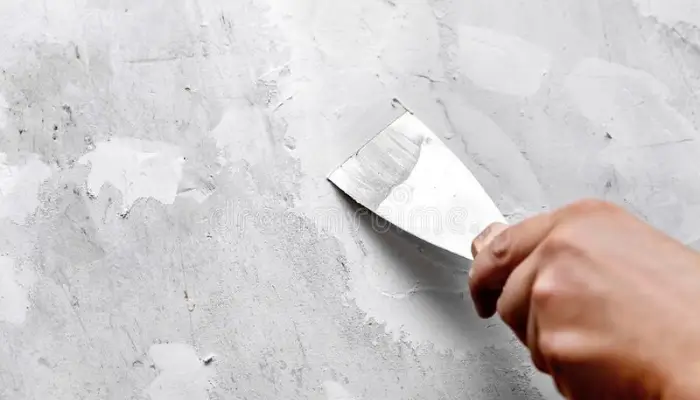
You can now readily see those fractures and holes on the cleaned wall. We must now use putty to fill and repair all of these holes and cracks with the aid of a scraper. to wait until the putty used to fix the gaps and cracks dries
7. apply the putty
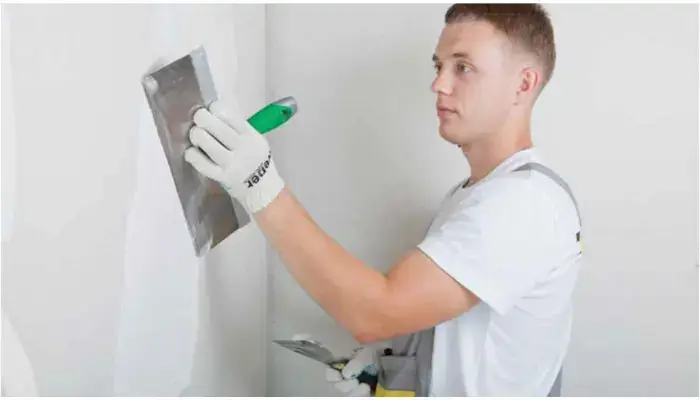
A smooth basis for wall surfaces is provided by putty, a fine, powdery white substance. Putty provides a wall with a smooth, moisture-winking finish that enables the application of any kind of paint. The psi for this painting is first used on the wall.
The putty itself looks after the pricey wall covering you employ and guarantees the stability and longevity of the paint.
The most crucial element in the patterning process is putty. Continue with the priming and painting process even if you must first use putty to cover any gaps or cracks in your wall if you want it to be smooth.
It is given the best basis possible by applying wall putty.
8. apply the paint
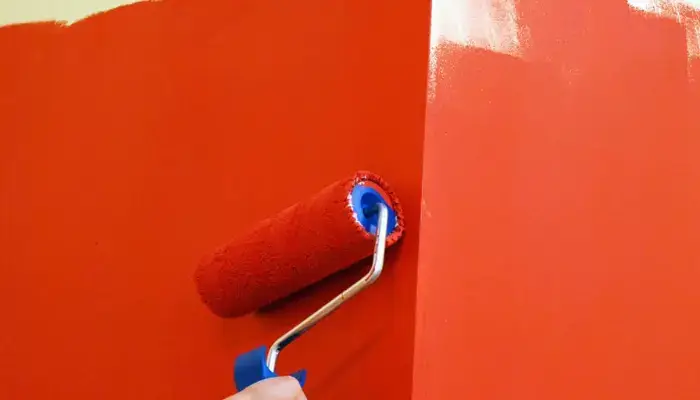
Now use a wide roller to paint the wall’s whole surface. From the ceiling, down, roll paint on with your roller. Shape the paint into a 3-by-3-foot “W” and roll it onto the wall. Without raising the roller, fill in any bare spots on the wall as you make your way back across that “W.”
The coat needs two to four hours to dry. Apply another layer in the same way if you want the walls to be a richer color.
9. be patient
It’s time to wait after painting the wall. Be patient and let the paint cure for the entire night. Before calling it a day, glance over the wall one final time to look for any problem areas such as thin spots, lumps, drips, or other imperfections.
All the while, resist the impulse to touch the walls. The following morning, discover an exquisite house! Next, what?
Carefully remove the painter’s tape, then replace all of the displaced furniture and accessories. Be prepared to share your knowledge on how to paint a wall and to display your home’s trendiest walls!
Hire our skilled painters to transform your house into a beautiful area if you feel like there is too much to do and you risk making mistakes. You choose the look, and we put it into action for you.
What is the coverage area for paint?
1. Paint
Paint is a substance used as the final finish to all surfaces and as a coating to protect or decorate the surface. 1 liter of Paint is Cover Upto 100 Square feet of Paint Area
2. Primer
A paint component called primer improves the adhesion of finishing paint compared to when it is used alone. It is made to stick to surfaces and provide a binding layer that is more suitable for receiving paint.
A primer can be designed to have better filling and binding capabilities with the material beneath rather than being utilized as the outermost durable finish like paint. 100 square feet of paint area can be covered by 1 liter of primer.
3. Putty
Putty is a kind of paste prepared for applying on walls to fill in any minor dents or to level the surface. It is recommended that paint is not applied directly on putty.
Always apply a coat of primer over putty and then the final coat. 2.5 kg of Putty is Cover Upto 100 Square feet of Paint Area
FAQs About How to Pant To Pain An old Wall
A lot of questions come to mind while painting old walls some of the commonly asked questions are answered below.
Can I just paint over old paint?
If the current wall is smooth, clean, and covered with the same type of paint (both are oil-based for example), you can head straight for the paint. You need to fill holes, Spackle, and sand*, and maybe even cut a new piece of drywall into the existing wall.
Can you paint the wall without removing the old paint?
If the existing paint is in good condition, with small spots, stains, and damage, and there is not much difference between the type and color of the new and old paint, you can repaint the walls without removing the whole paint.
Is it necessary to sand walls before painting?
While sanding is not required for every painting project, rough spots on walls, whether they have been previously painted or not, need to be sanded before they are painted to ensure the paint goes on smoothly.
Can I put primer over old paint?
You can use a primer to thoroughly cover the old color, then apply 1 or 2 coats of the new paint. Paint & primer in one paint is a newer option, which could be ideal for your situation and even shorten the project.
Tell Us In The Comments your Experience about How to Pant To Pain the old Wall
Additionally, don’t forget to read the other post on ideas for making houses, which will definitely provide you with an insightful and helpful perspective.
