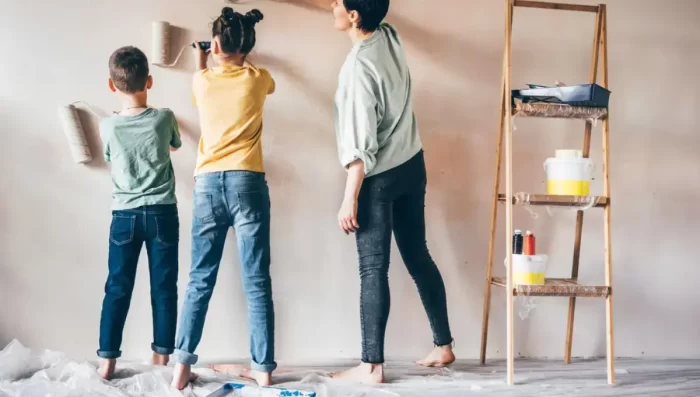
After constructing a new garage or if your current garage appears too drab and old. The next step is to improve it by painting it with useful paint.
But if you don’t know how to paint garage walls or anything else, your chances of making a mistake rise.
Consequently, if you are from the middle class as well and don’t want to pay extra. So it’s crucial to comprehend the right procedures for painting the garage walls.
Because if you make a mistake, it will cost you more, and the walls of the garage will also seem unkempt.
Do not fear; the steps are not difficult to follow because I have included extremely straightforward and simple instructions in this article. that anyone can use, regardless of their level of painting experience.
Don’t overlook any of the instructions in this post because doing so will help you create attractive and functional garage walls.
Here are some steps you can follow to paint the walls of your garage:
1. Make A Plan

Make an appropriate plan before painting the walls of your garage. That covers all the essentials, such as the location of the walls, necessary equipment, your favorite paint color, the finish you want for your garage wall, and more.
2. Get Ready For It
Have you created a list of everything you’ll need to paint the garage walls? Have you gathered all the required tools in one place?
Once your action plan is finished, paint the walls of your garage. Then you need all the appropriate materials, including tools, paint in the proper quantity, equipment, and more.
When you are painting your wall, this is challenging. You must constantly bring them to mind. Additionally, this will miss everything, and the painting process will fail.
Make a checklist in advance that contains all necessary tools, products, and equipment in the appropriate quantity if you don’t want this to happen.
3. clean the wall
It’s crucial to clean the walls of your garage before painting them so that the paint adheres properly and the completed product looks even and smooth.
Start by using a broom or a handled brush to clear away any cobwebs or debris from the walls.
After that, use a moist cloth to wipe down the walls to get rid of any dust, filth, or grime that may have accumulated there.
You can use a degreaser to get rid of any oil or grease stains on the walls. Apply the degreaser as directed by the manufacturer, and then use a moist towel to wipe the walls clean.
Use a mild detergent or trisodium phosphate (TSP) combined with water and scrub away any stubborn dirt or stains. Rinse with water and allow to dry completely.
Last but not least, wait until the walls are completely dry before using primer or paint.
4. Repair any damage to the wall
It is very important to repair any damage to your garage walls before painting, as failing to do so will result in the ceiling looking very dirty after being painted. By repairing the ceiling of the wall, you get a beautiful and smooth surface for painting or priming, which gives the wall a uniform and new look.
Start by looking for any holes, cracks, or dents in the walls. To make them easier to locate later, mark these locations with chalk or a pencil.
Remove any loose paint or debris from the vicinity of the damaged areas using a scraper or putty knife.
After that, fix the gaps or cracks with filler material like joint compound or spackling. Apply the compound as directed on the package, using the tool the manufacturer recommends.
Use fine-grit sandpaper or a sanding sponge to remove any excess patching compound and level the surface with the surrounding area after the compound has dried.
Apply a second coat of patching compound if necessary to cover any flaws, and then resand the surface until it is flawless.
Use a moist cloth to wipe away any sanding dust that remains on the wall.
To seal the compound and enhance the paint’s adherence, prime the repaired areas before painting.
5. apply the Prime to the walls
It’s necessary to prime the walls of your garage after they’ve been repaired so that the paint adheres properly and the completed product looks even and smooth.
Make sure the areas that have been fixed are first clean and dry. To get rid of any dust or debris left over from the repair work, wipe down the walls with a moist cloth or lightly sand them.
Pick a primer suitable for the kind of surface you’re painting. Use a concrete or masonry primer, for instance, if your walls are constructed of concrete or masonry.
Apply the primer to the walls using a paintbrush or roller. Make sure to apply an even coat of primer to the whole surface, including the repaired areas.
Prior to painting, let the primer thoroughly dry in accordance with the manufacturer’s directions. For optimal effects, it is advised to wait at least 24 hours before painting over the primer.
6. Start Applying The Paint
The next and final step is to paint the walls of your garage after applying primer to them.
Choose a paint that is suitable for the type of surface you are painting first. Use a paint that is intended for use on concrete or masonry surfaces, for instance, if your walls are constructed of those materials.
Apply the paint to the walls with a paint roller or a brush after pouring it into a paint tray.
Start by using a paintbrush to paint the wall’s edges. Next, use a roller to paint the larger sections.
As you continue, make sure to smooth off any brush strokes or drips and apply the paint evenly.
To paint the room’s corners where the roller can’t use a paintbrush or roller.
As directed by the manufacturer, let the first layer of paint completely dry; this normally takes 4-6 hours.
If more coats are required for better coverage and an even finish, do so.
Before using the garage, let the last layer of paint completely dry.
Use the proper paint and primer for the surface, always abide by the manufacturer’s directions, and take all necessary safety measures before beginning any painting project. Additionally, it’s crucial to ensure that the garage is adequately aired during painting because paint fumes can be dangerous to breathe in.
tools and materialsYou Will Need:
- Shop-Vac or broom
- Rags
- Drop cloth
- Painter’s tape
- Bucket
- Soapy water
- Paint roller with extendable handle
- Paint tray
- Edging brush
- Drywall compound, putty knife, sanding block
- Drywall primer
- Latex interior paint
FAQs about how to paint garage walls?
Q1: what is the best paint color for garage walls?
Ans: The best color for a garage wall will depend on personal preference and the overall design of the space. Still, greys, tans, beiges, neutral blues, and greens are the most preferred colors for garages.
Q2: How Much Does It Cost To Paint The Garage Walls?
Ans: The price of painting a garage wall relies on a number of factors, including the type of garage wall material, quality, quantity, equipment, and so on. However, you should expect to pay between $700 and $1200 on average to paint the drywall with regular latex paint.
Q3: which is the best paint for garage walls
Ans: Interior latex paint is the best type of paint for garage walls and ceilings. Due to its water-based composition, latex paint may be diluted with water rather than paint thinner and dries quickly. It also has a mild odor.
Q4: Can I Paint The Unfinished Garage Walls?
Ans: Yes, you are allowed to paint the unfinished garage wall since it is not required to be painted or not. Apply the best primer before painting your garage if it was recently constructed and hasn’t been painted.
Tell Us In The Comment As Per This Information Is Helpful.
Additionally, don’t forget to read the other post on ideas for making houses, which will definitely provide you with an insightful and helpful perspective.
